Mechanism Digital Files
We have always offered our 3D printing files for free because we want Mechanism to be accessible to all. This project has been greatly informed by the Steam/maker community and this is just a small way in which we can give back.
That said, there are definitely limitations to the 3D printed parts, especially in the long term. Read on for a breakdown of the differences of the options available to you!
There should be an email form right below this text to get the download link. If you don't see it, please pause your adblocker for a second to get to it!
Currently Available Files

Basegrip for Xbox ROG Ally X
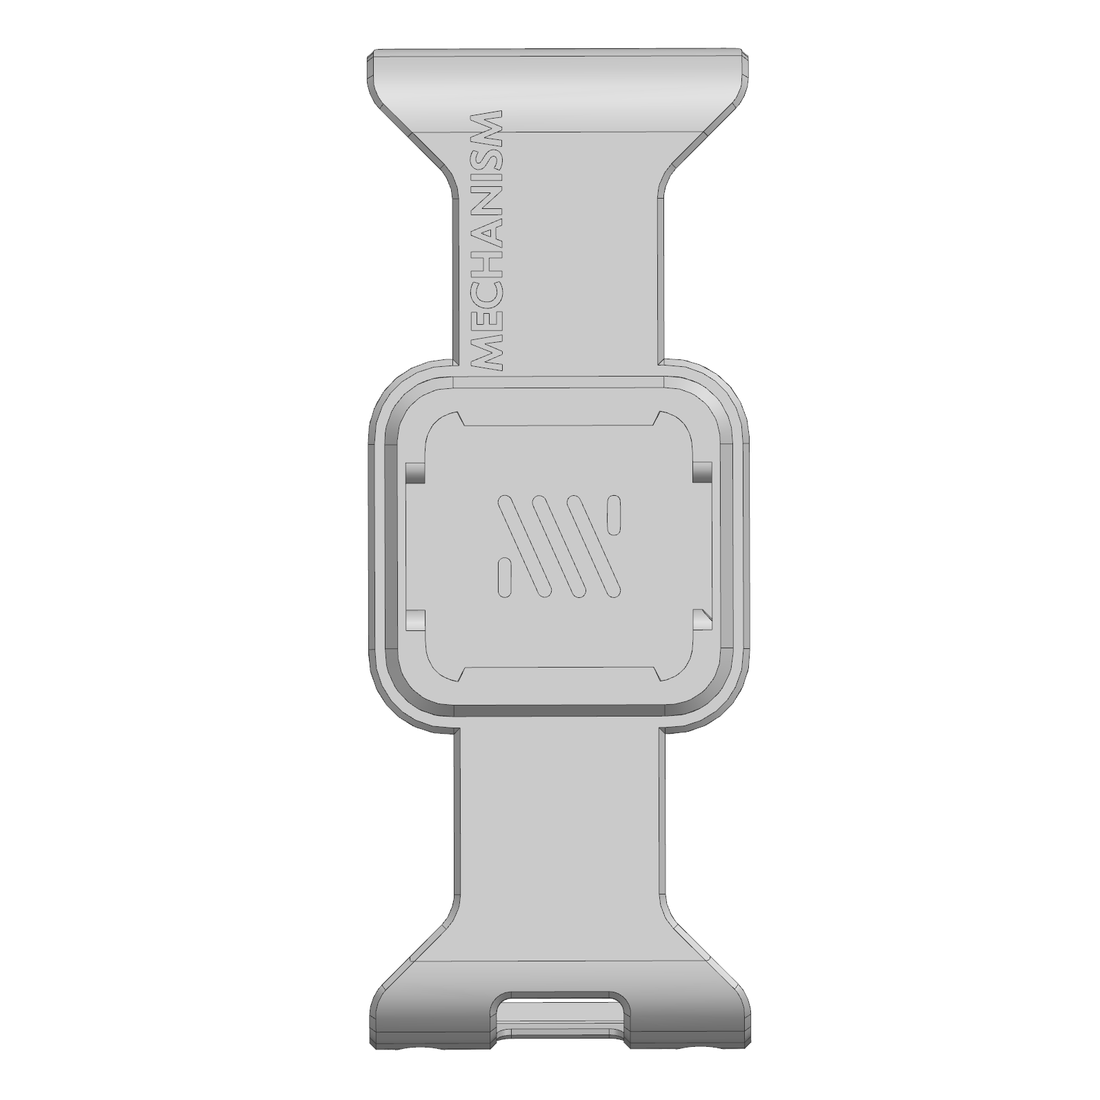
Basegrip for Switch 2
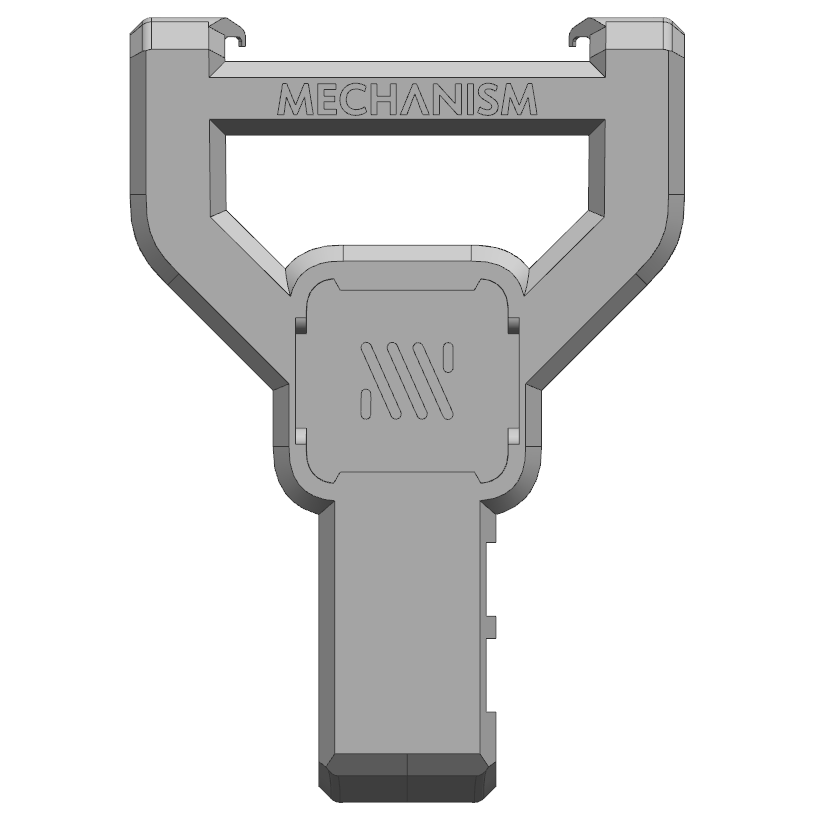
Deckmate Grip 1.5
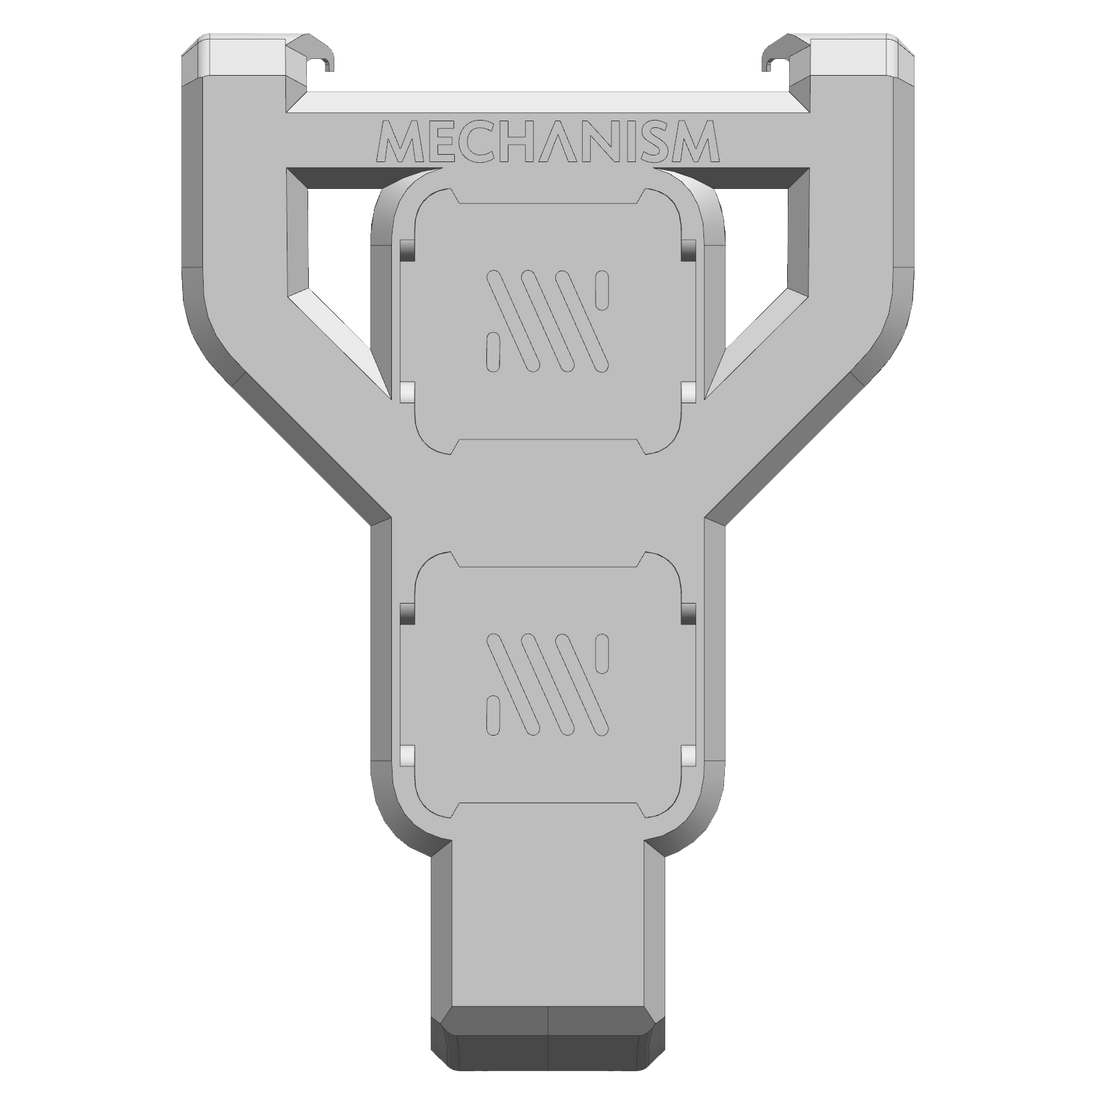
Deckmate Double Grip
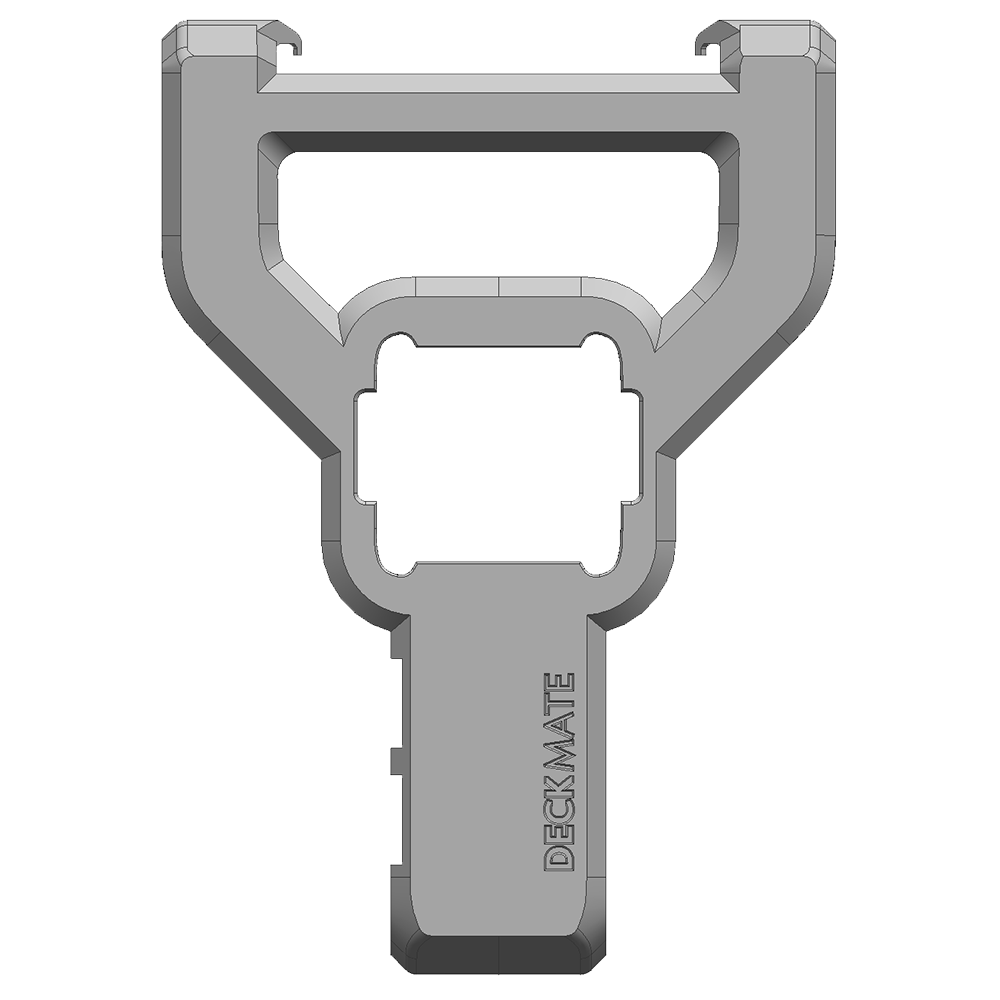
Deckmate Grip
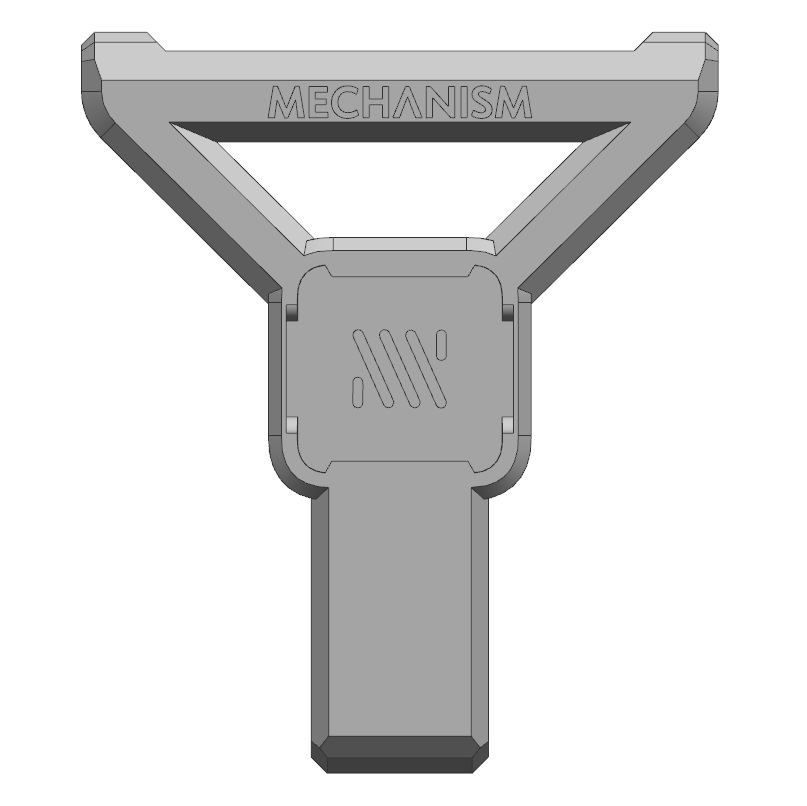
Allymate Grip 1.5
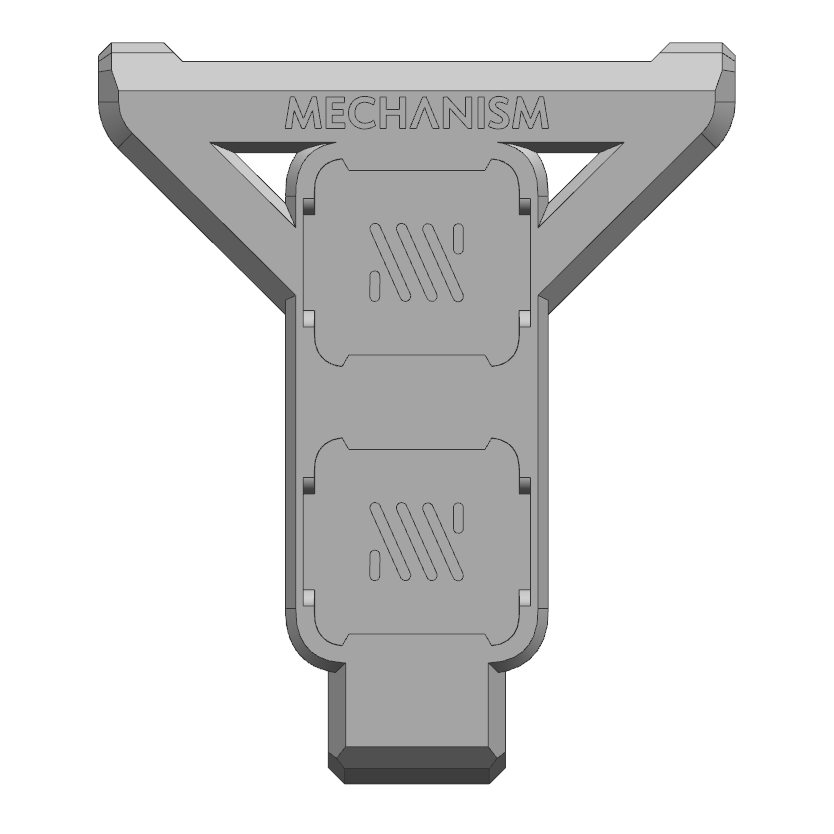
Allymate Double Grip
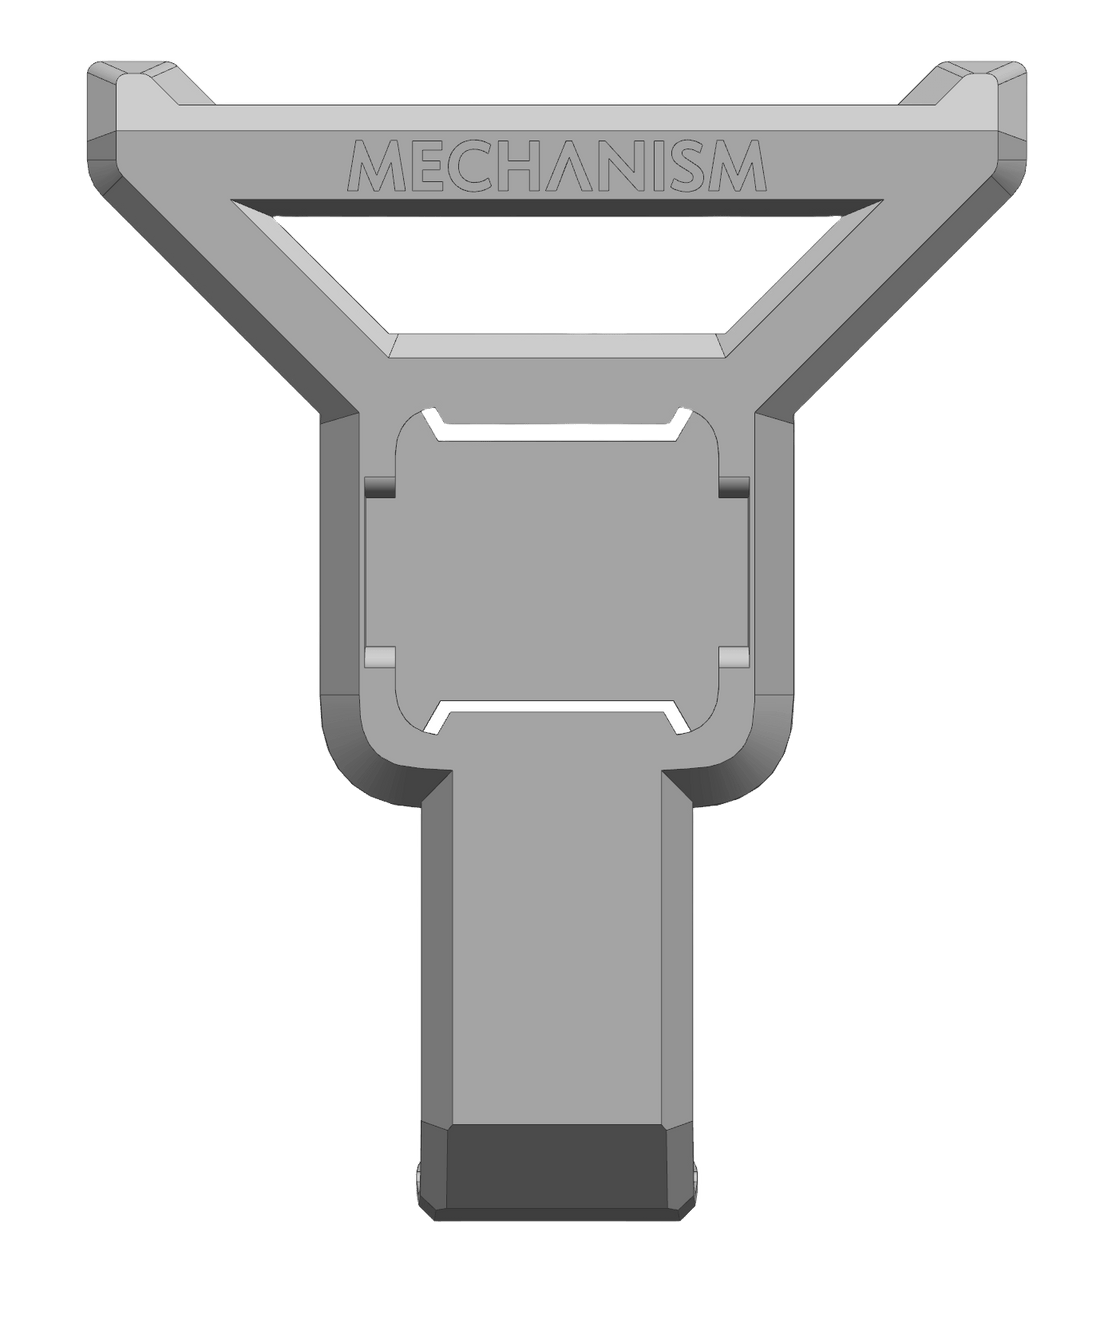
Basegrip for Ally X
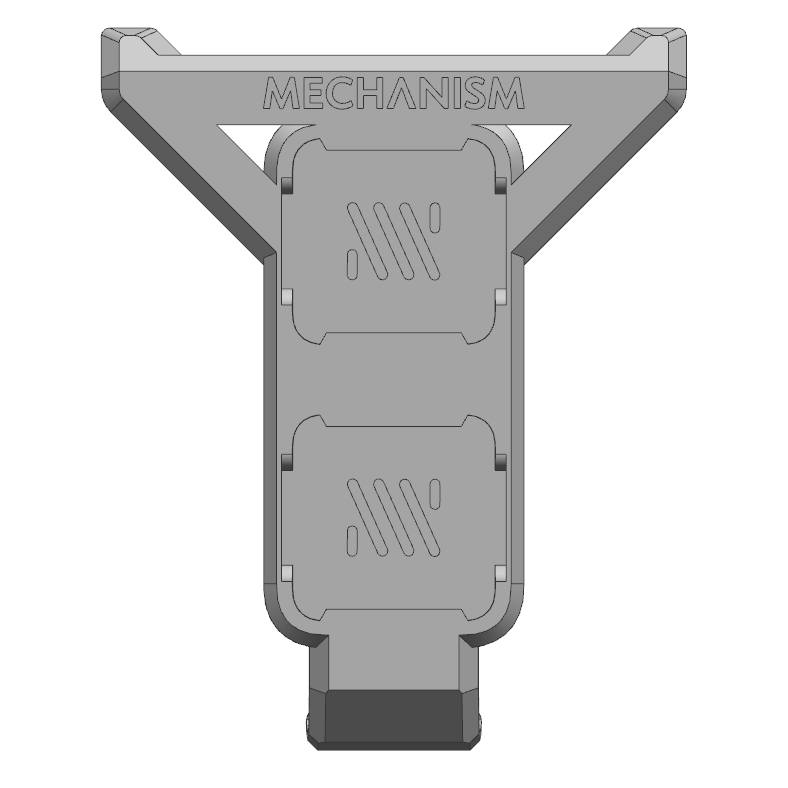
Ally X Double Grip
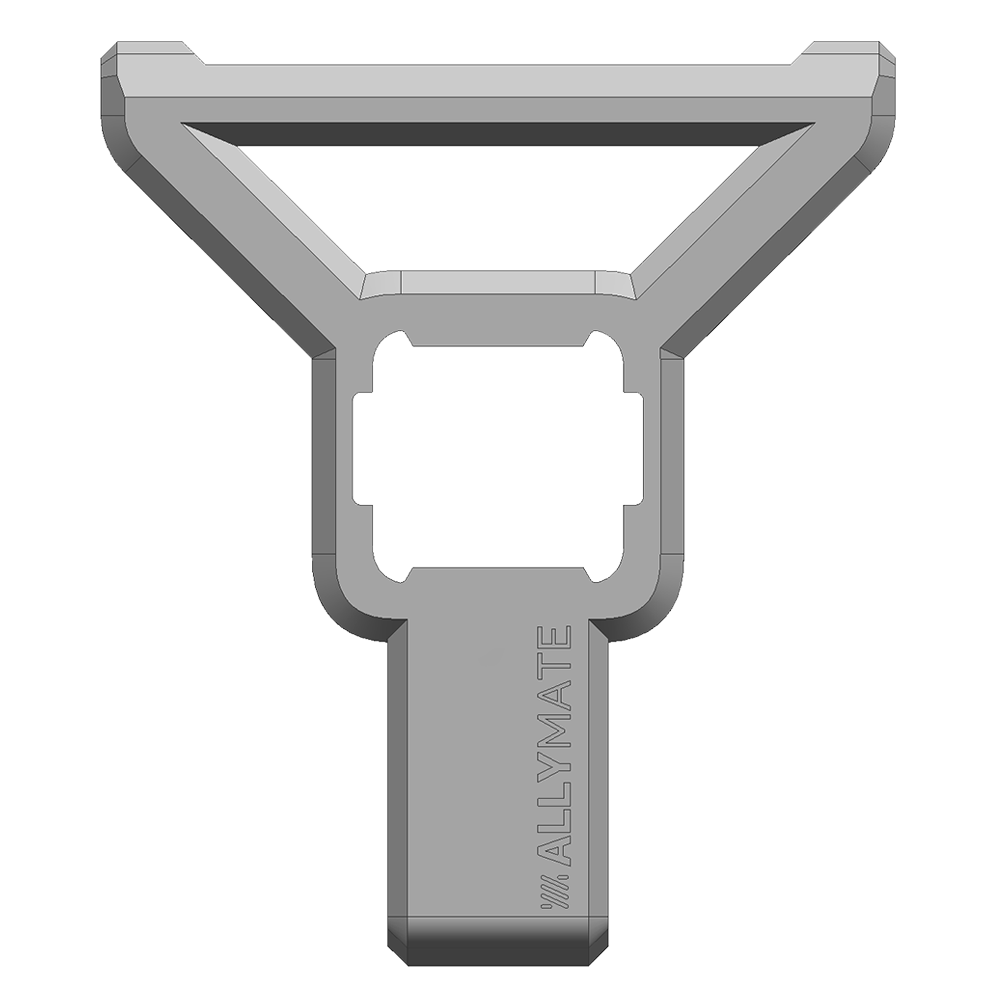
Allymate Grip
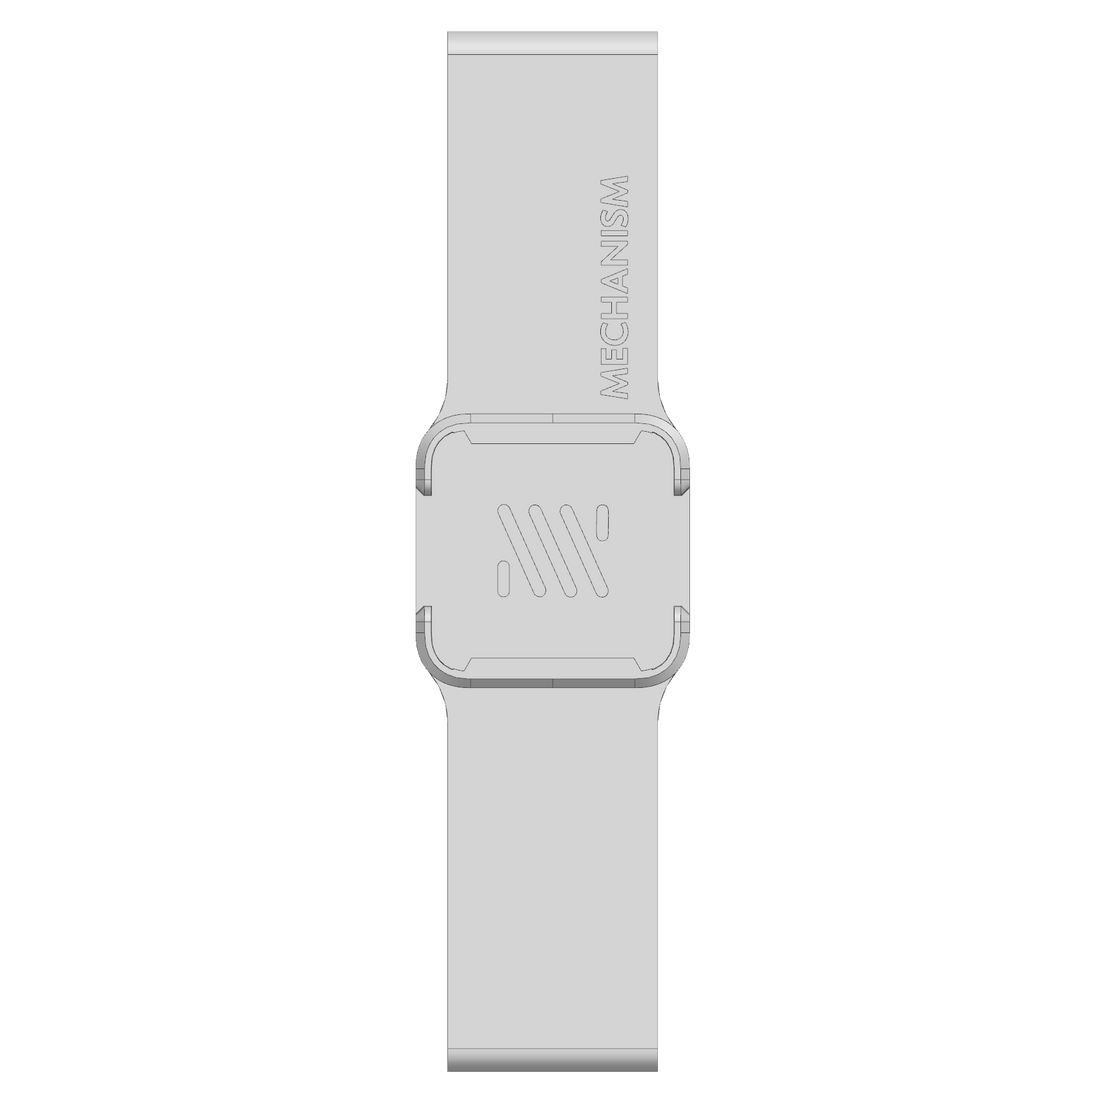
Legion Go Grip
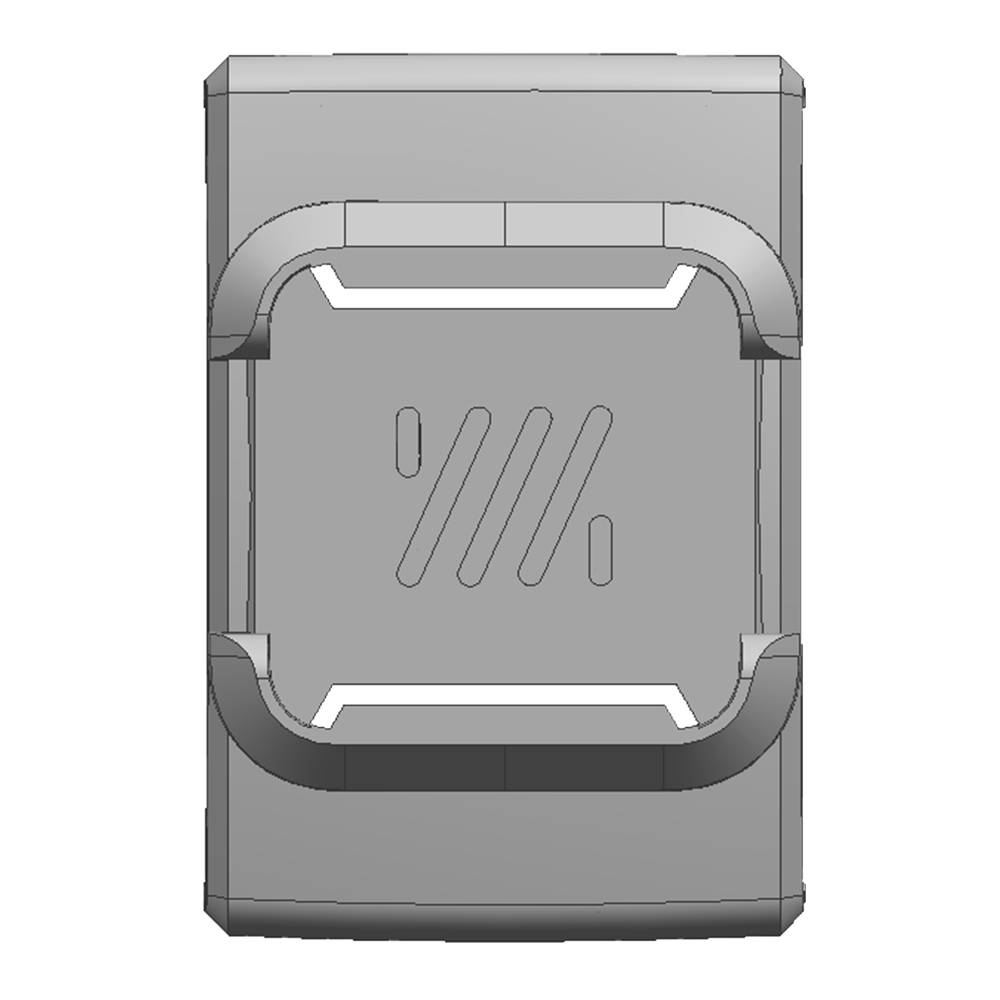
Portalmate Grip
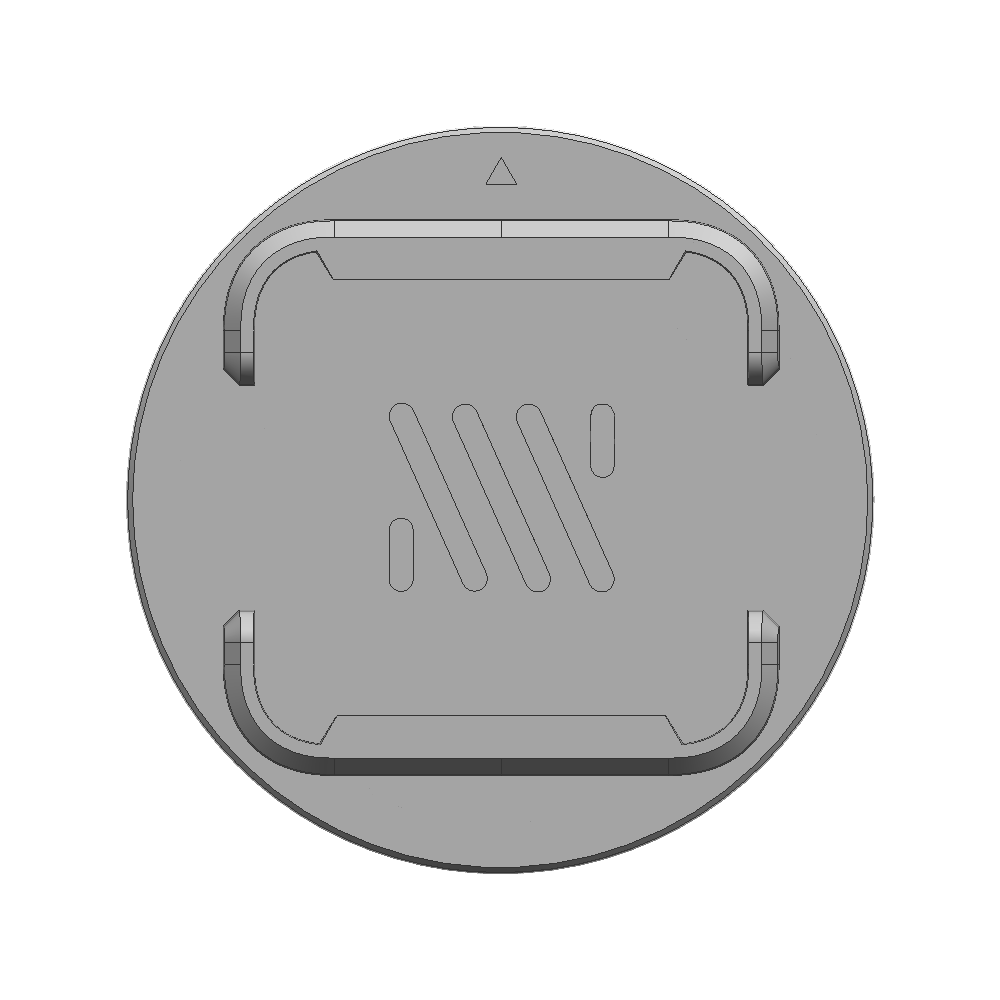
Killswitch Adapter V2
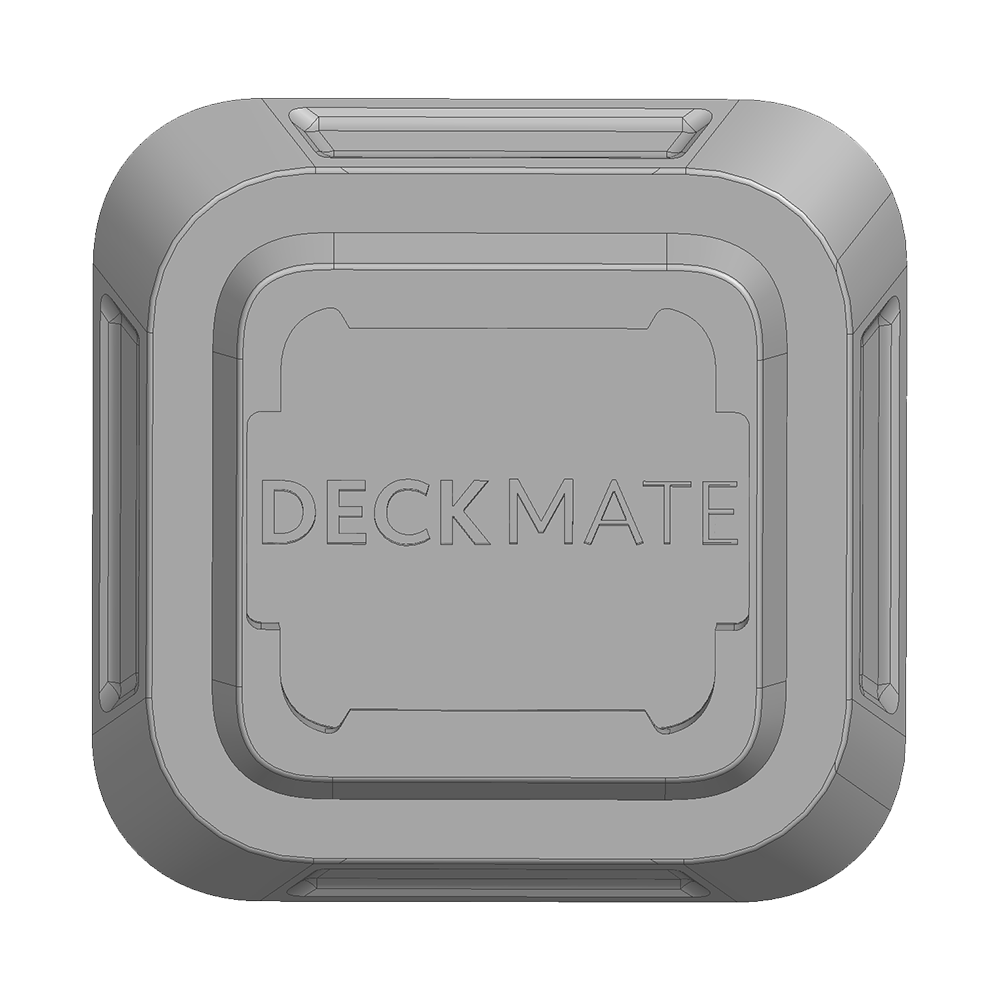
Killswitch Adapter V1
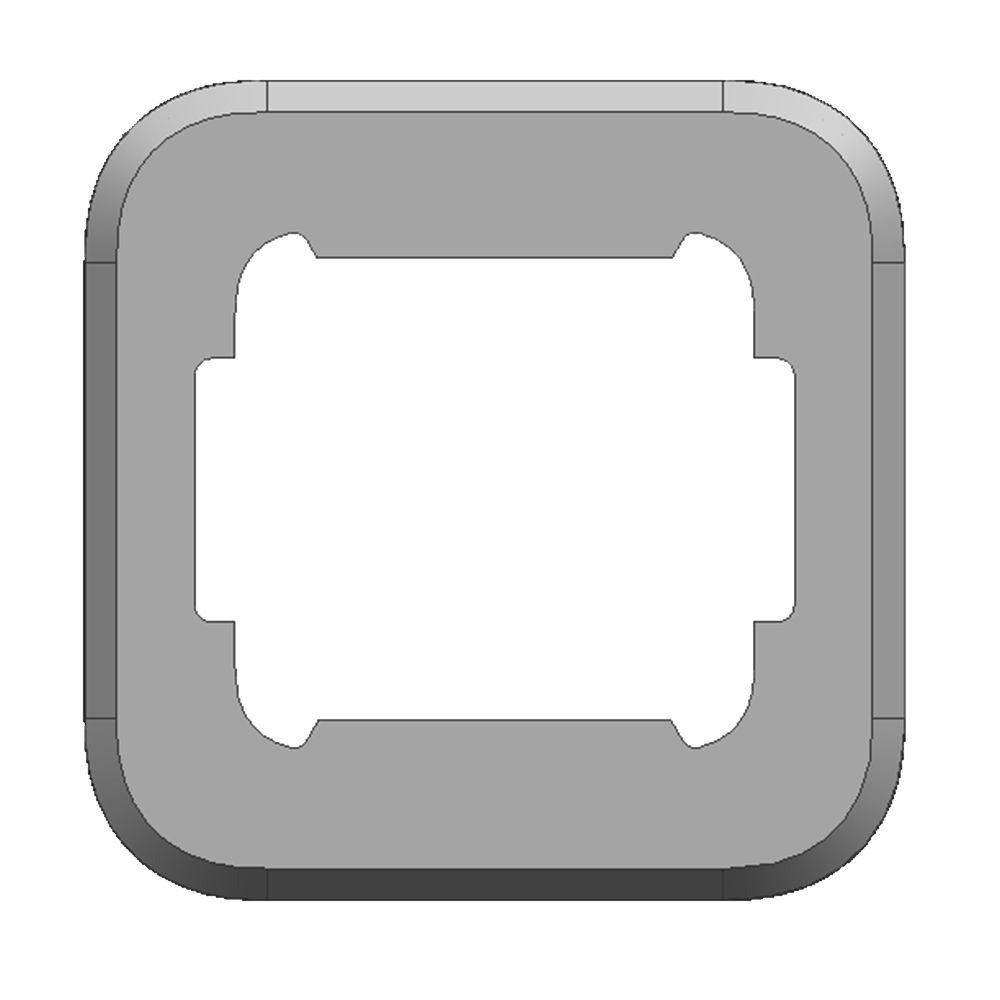
Universal Grip 1.0
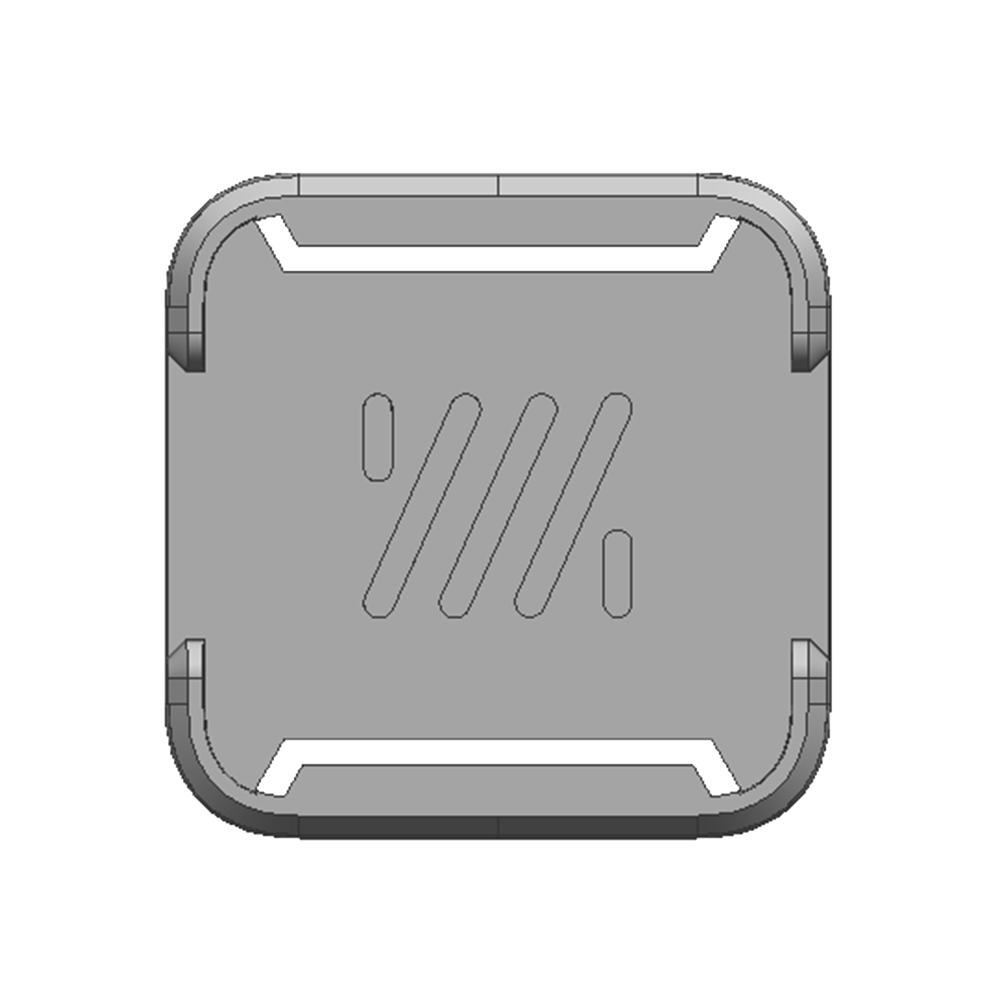
Universal Grip 1.5
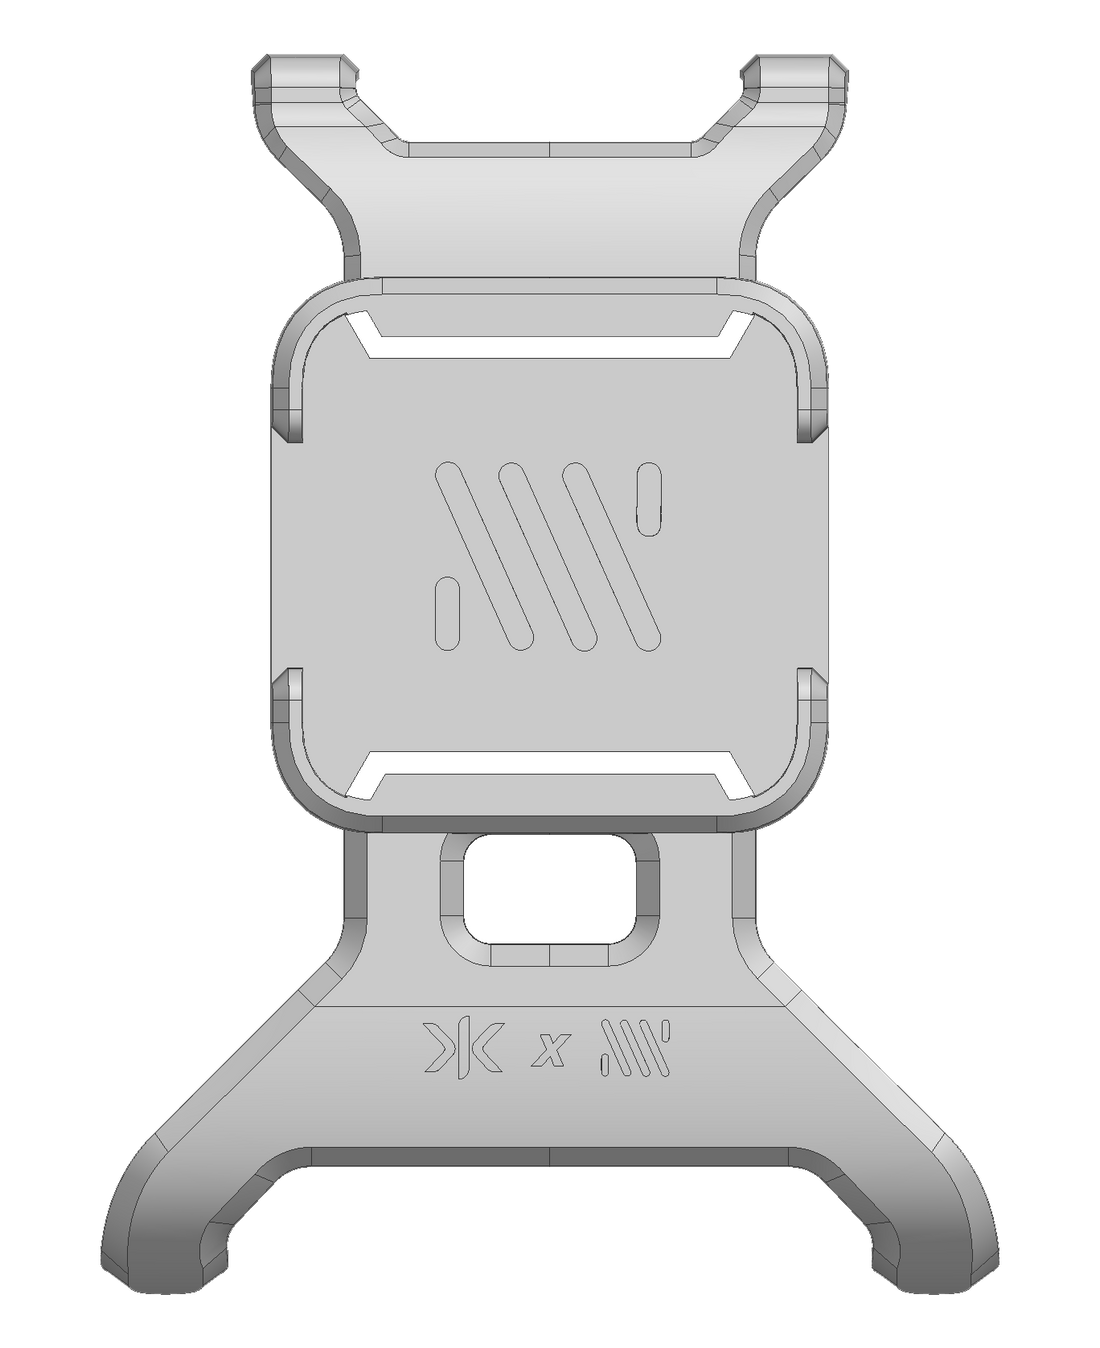
CRKD NEO S grip
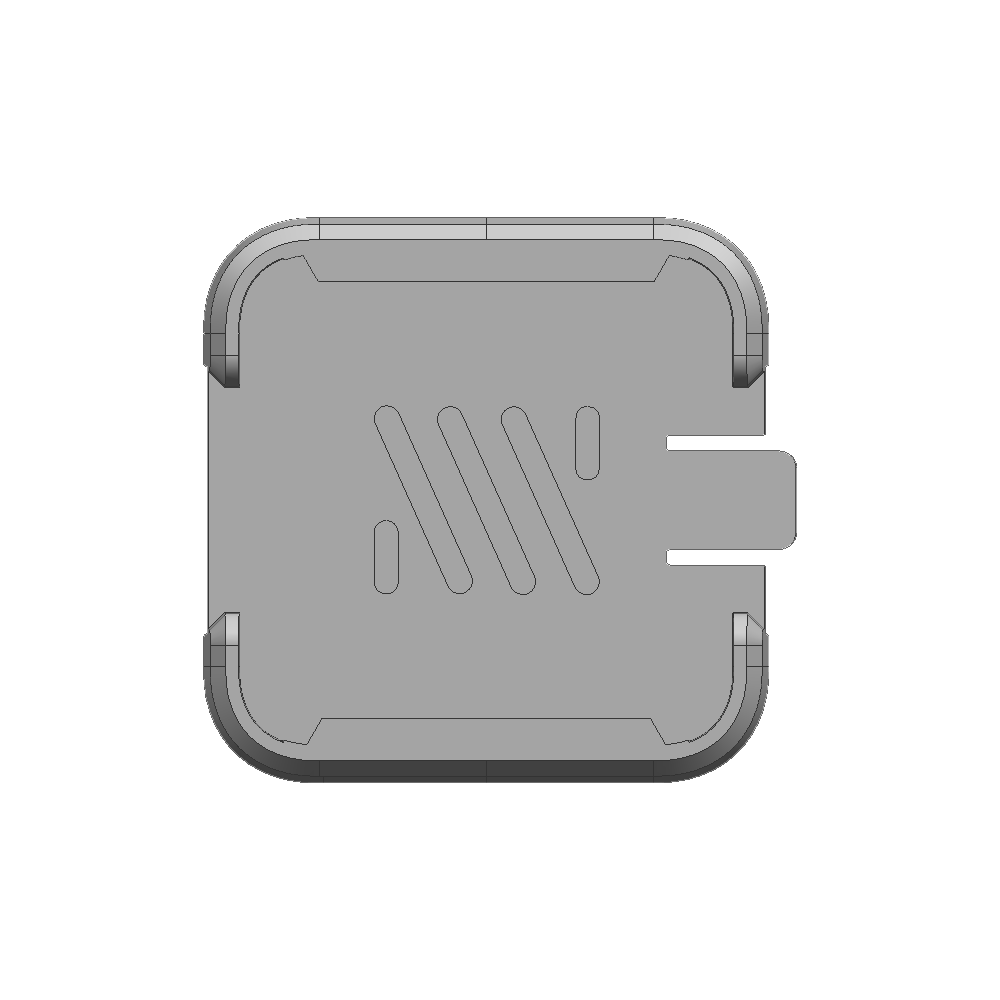
MODcase Adapter
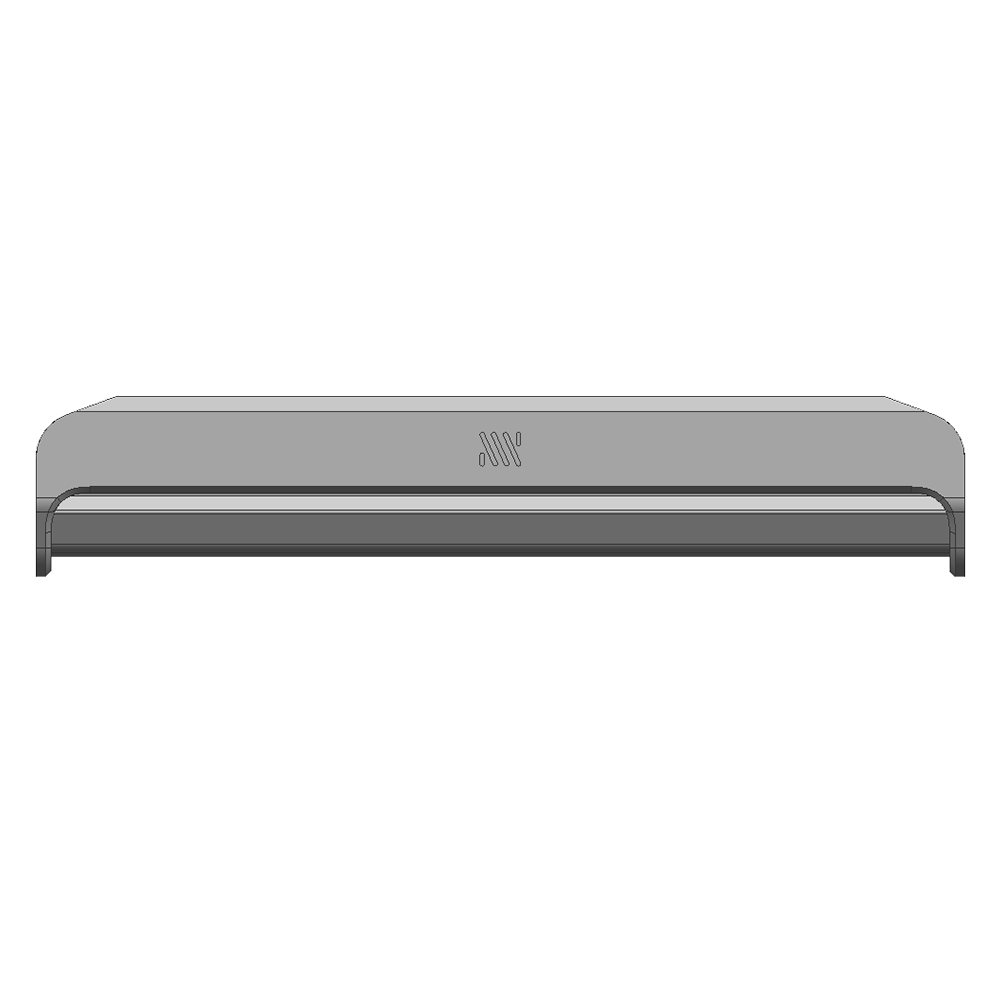
Steam Dock Adapter
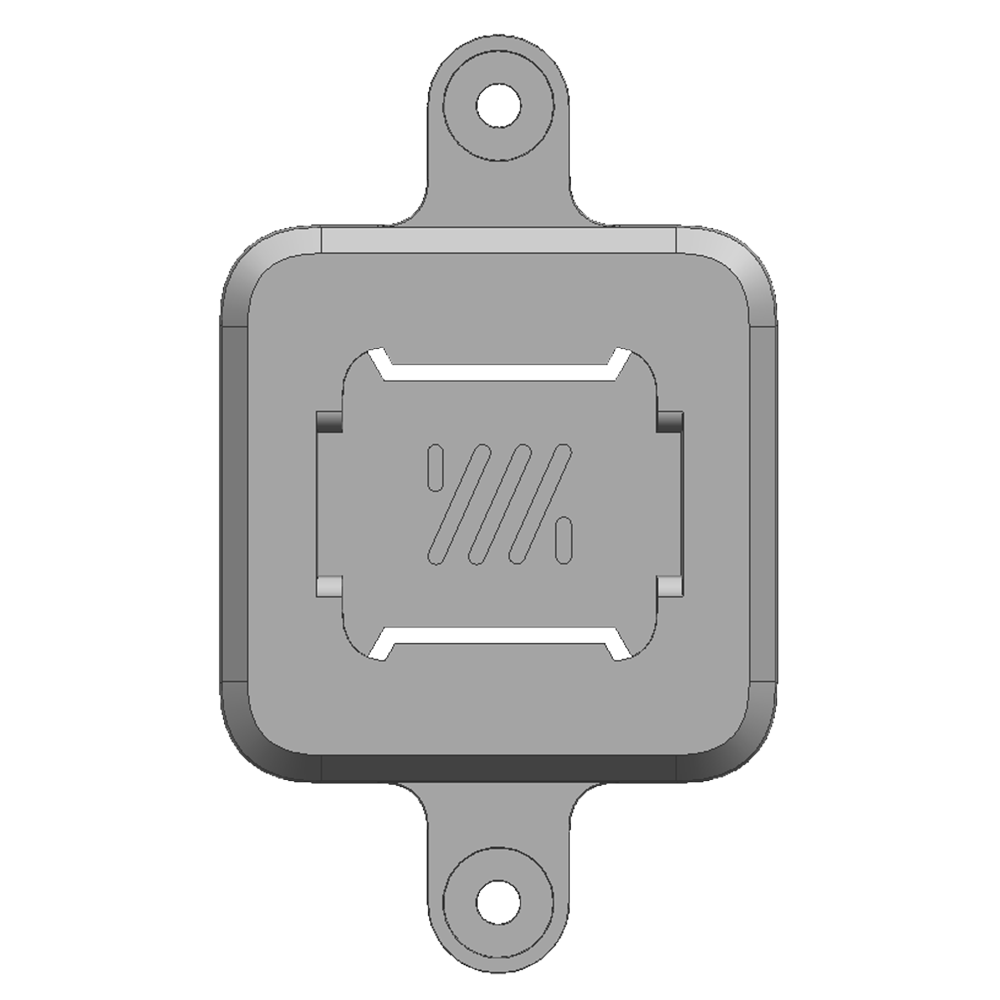
Wall/Skadis 'Innie'
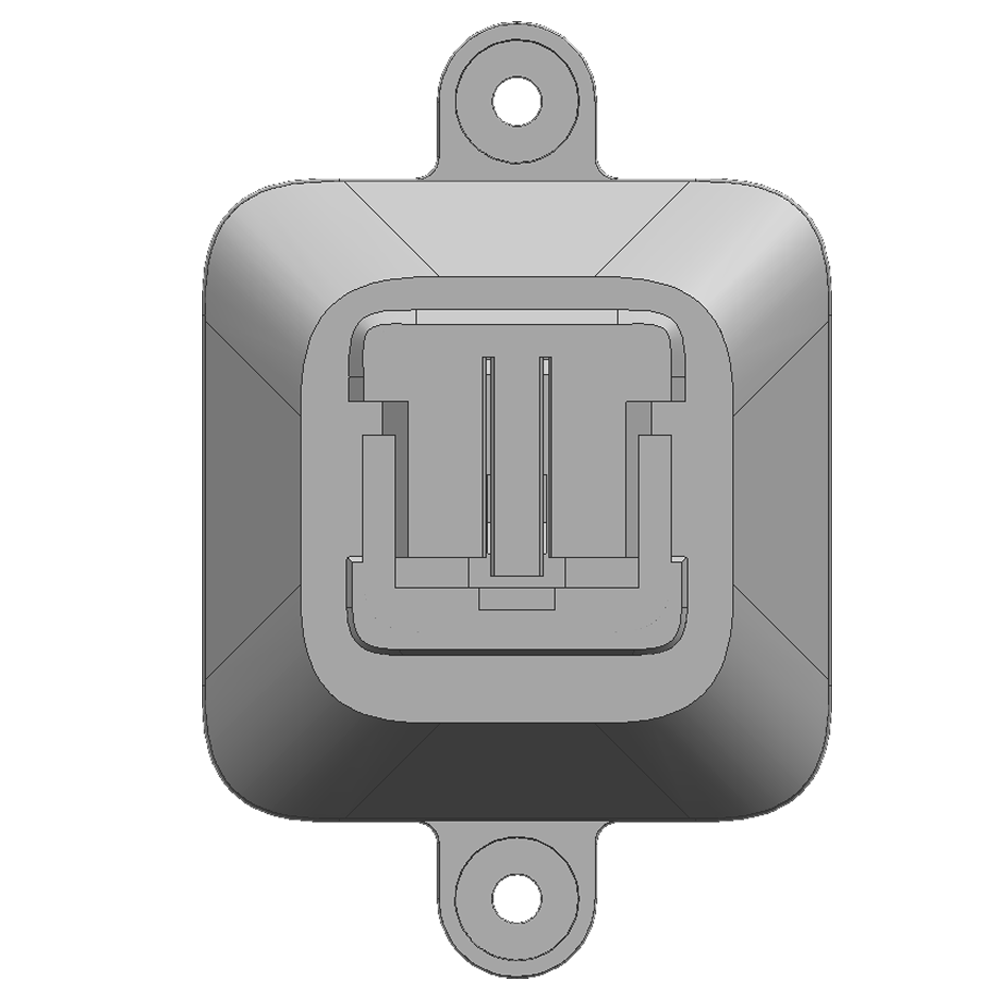
Wall/Skadis Mount
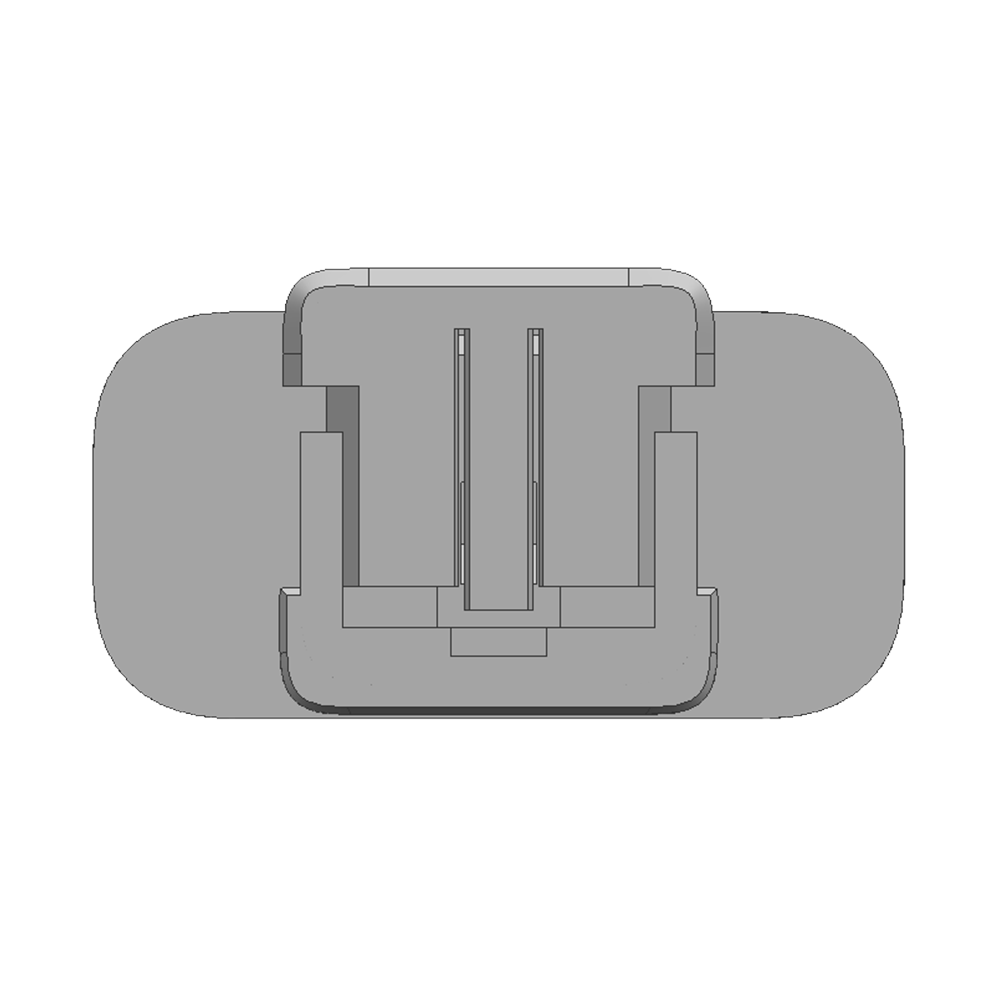
Adhesive Puck
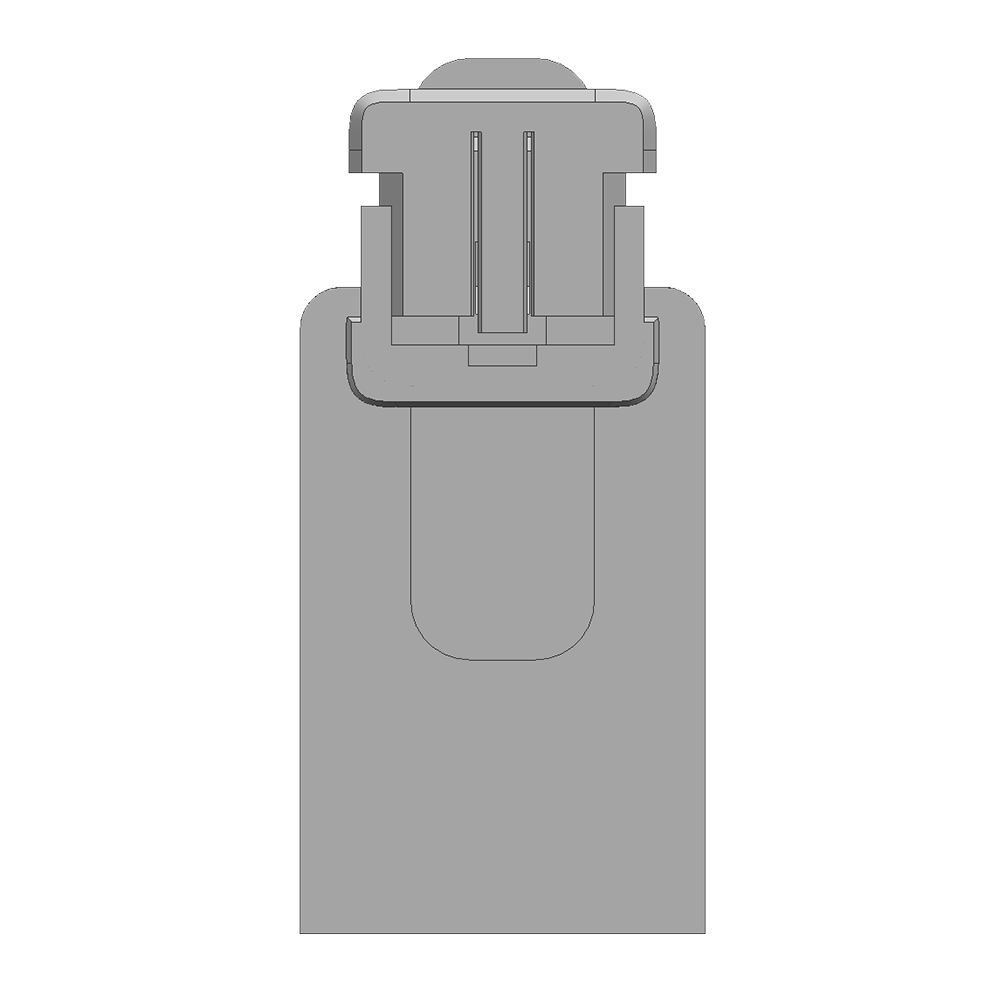
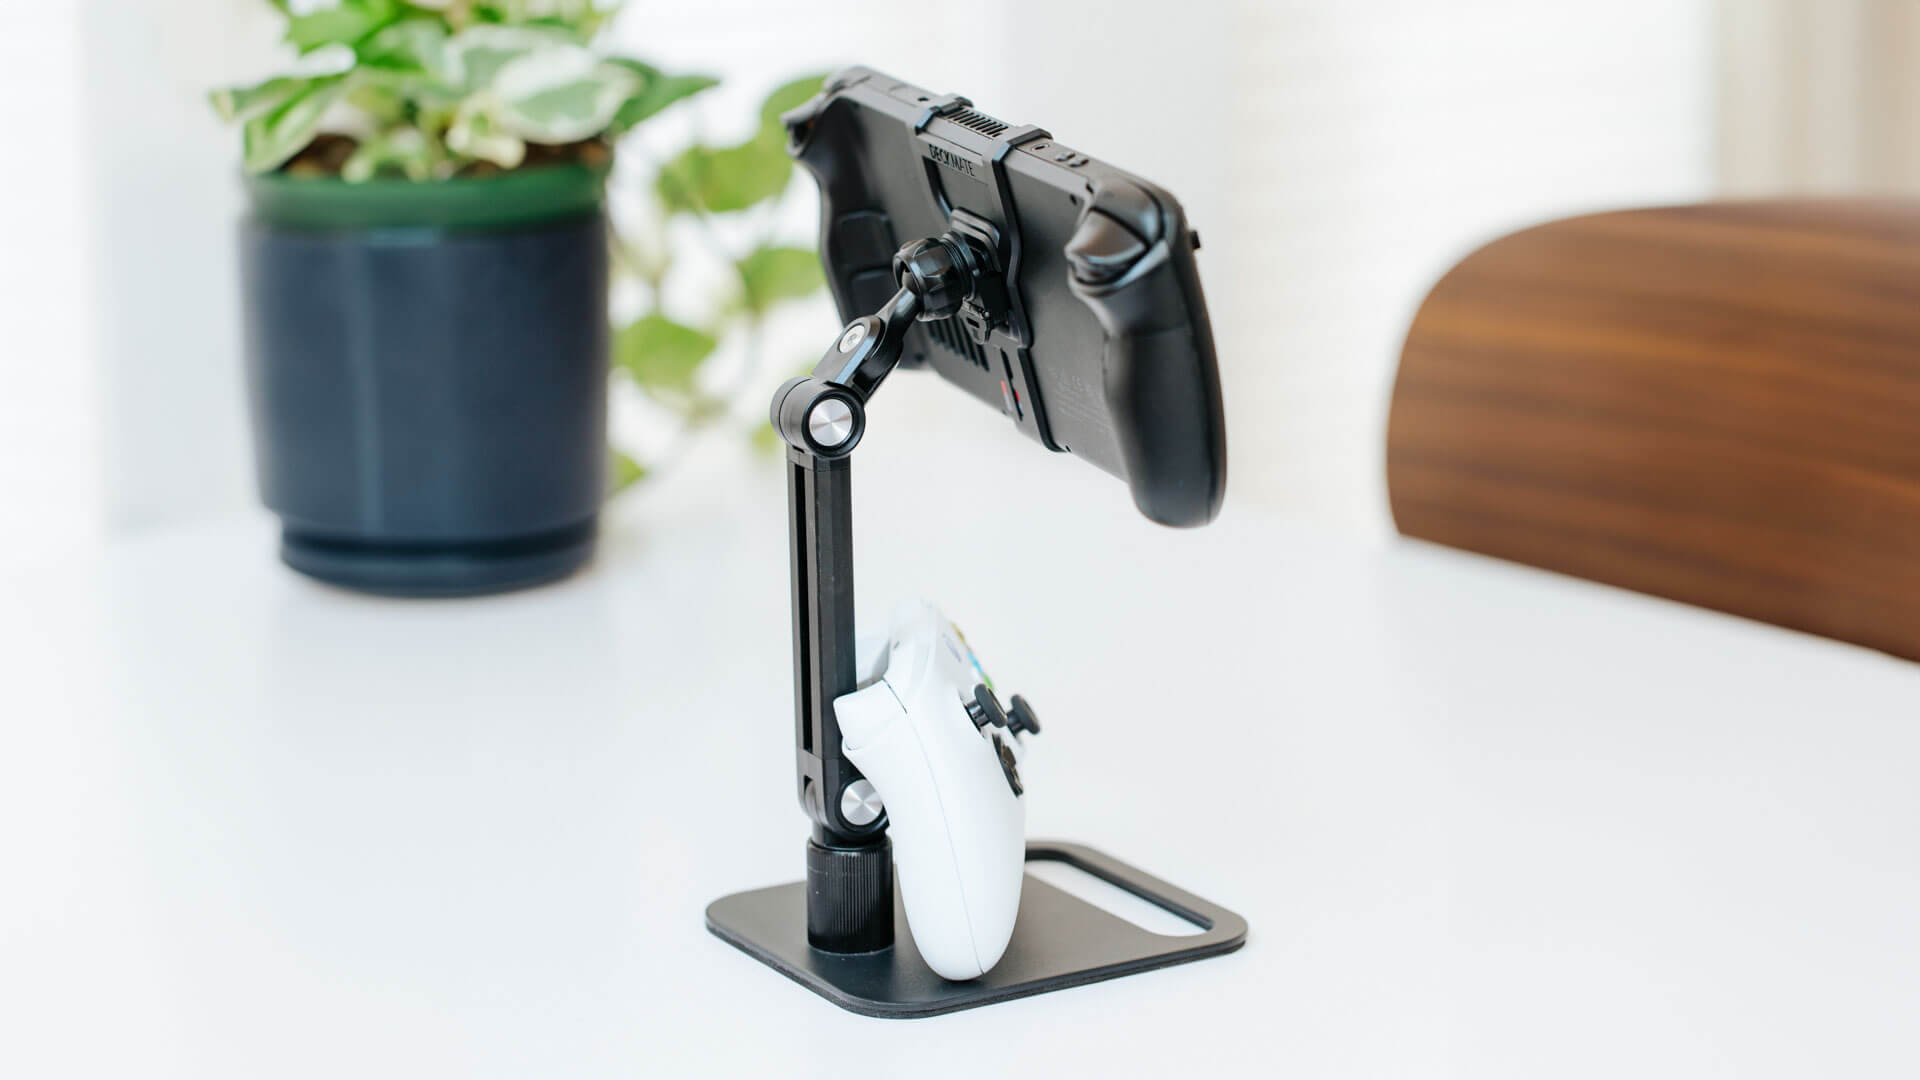
Kickstand
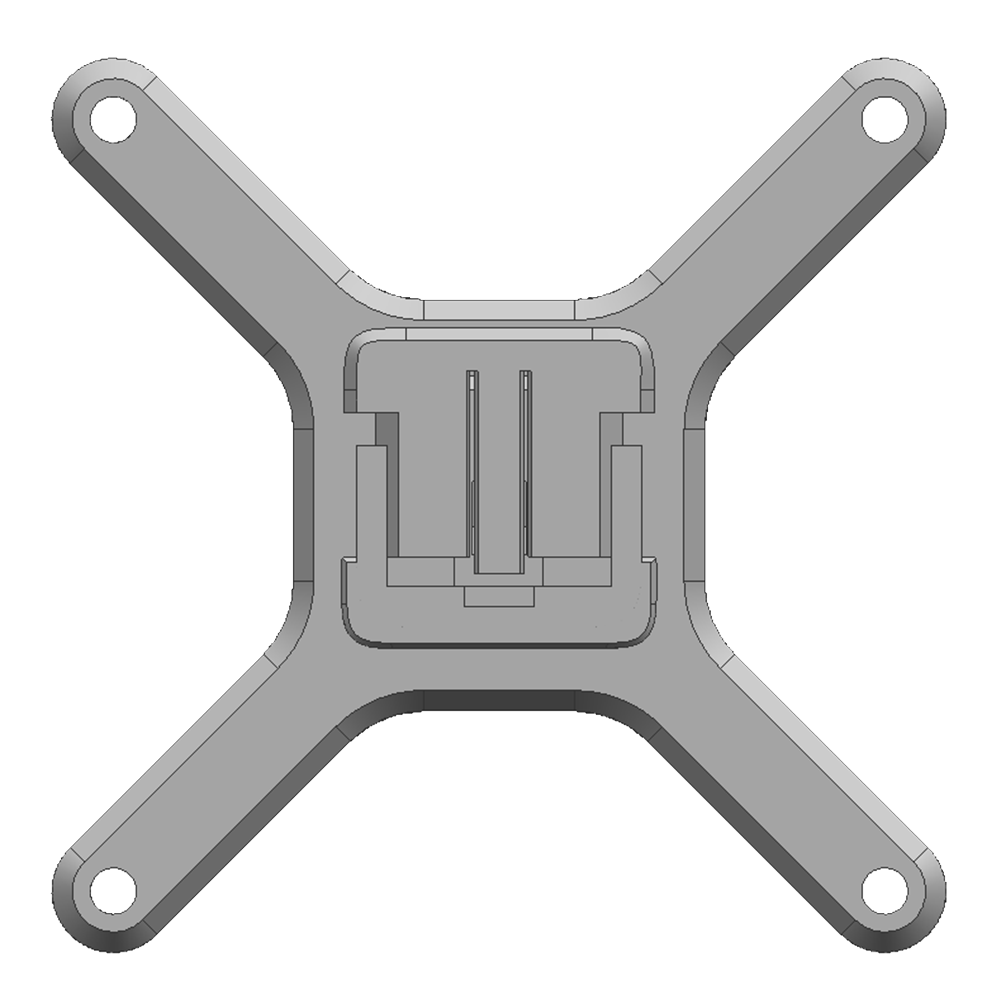
VESA Mount Outie
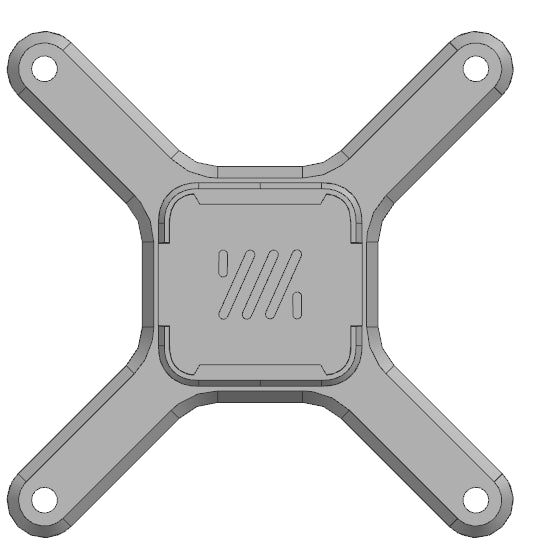
VESA Mount Innie
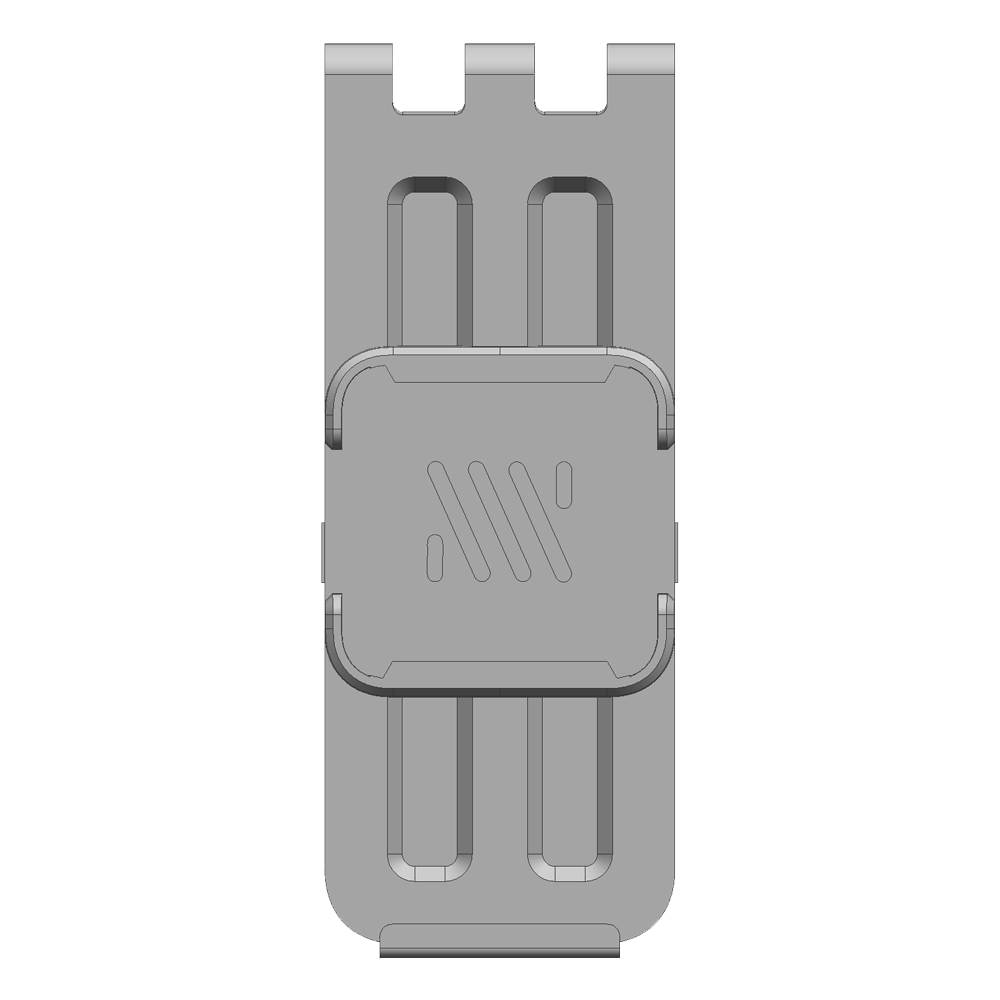
Ally Killswitch Adapter
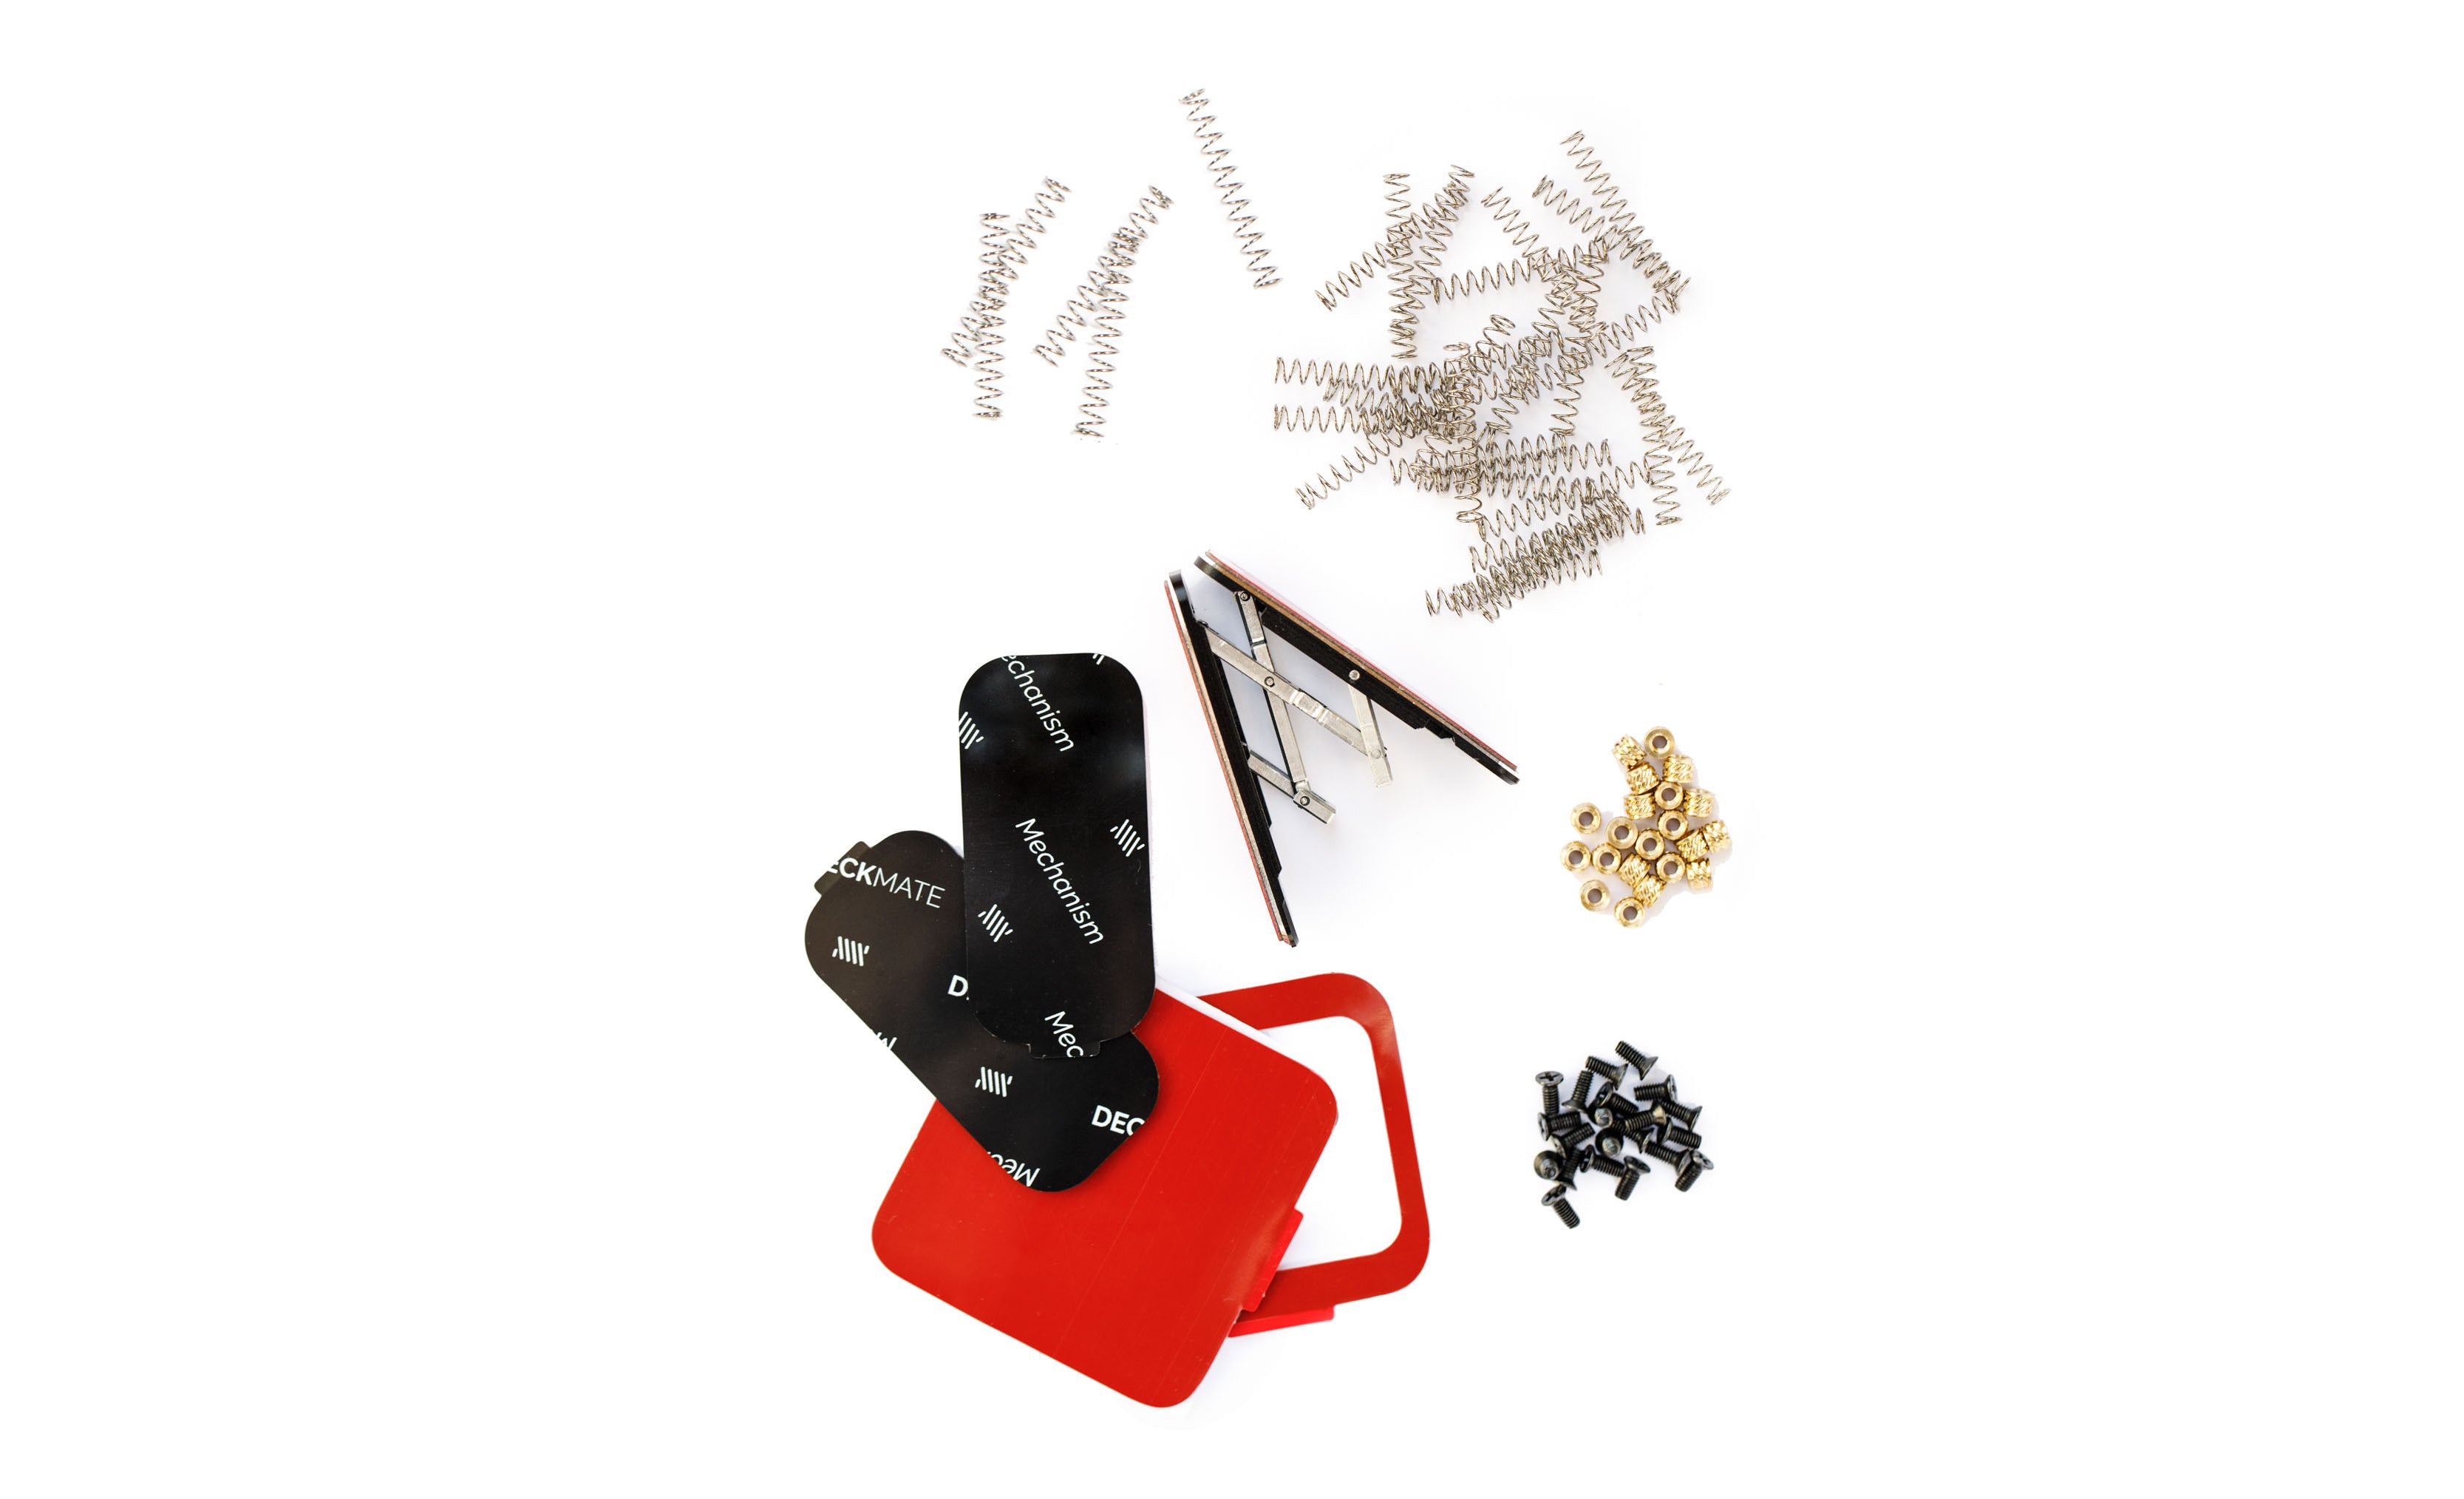
Need the hardware?
Get the DIY Kit- Everything you need to assemble your 3D printed mounts including hardware and custom cut adhesives.
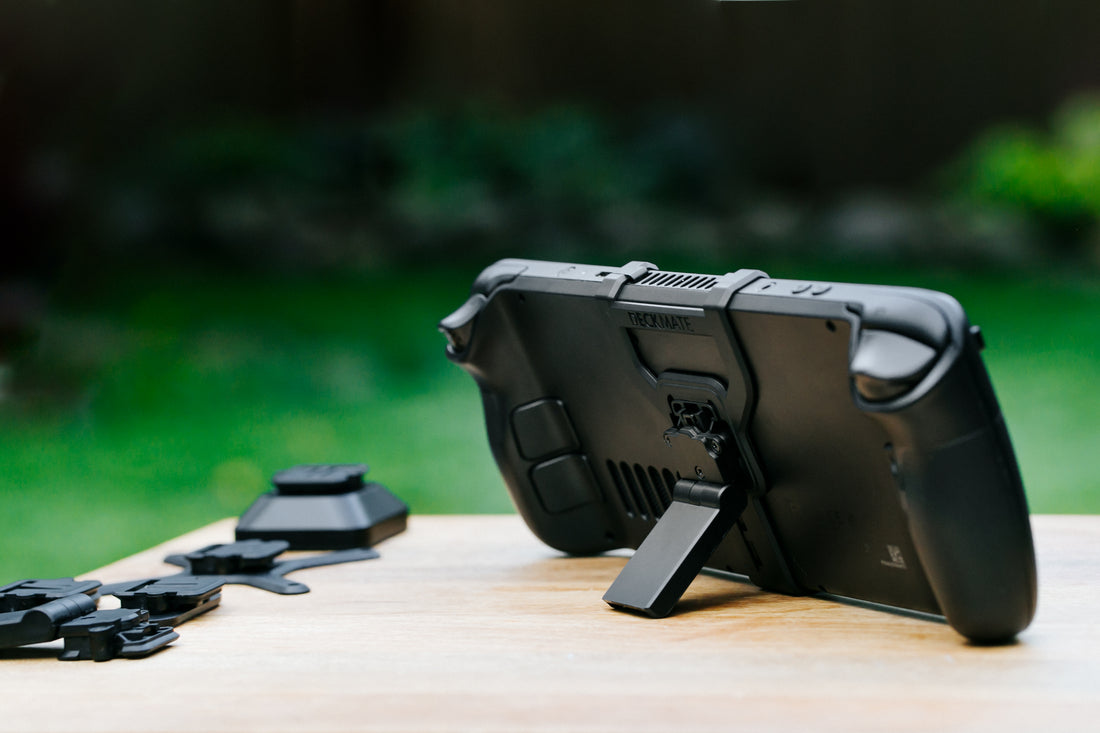
Molded
Pros:
- Surprisingly, it might be cost competitive.
- High Strength and Reliability
- Production grade materials
- Cosmetics blend seamlessly with the Steam Deck
- MicroSD card holders work great
- Wall mount has screw locations
- No mucking about with 3D printing settings
Cons:
- International shipping can bump up your costs
- Design not modifiable
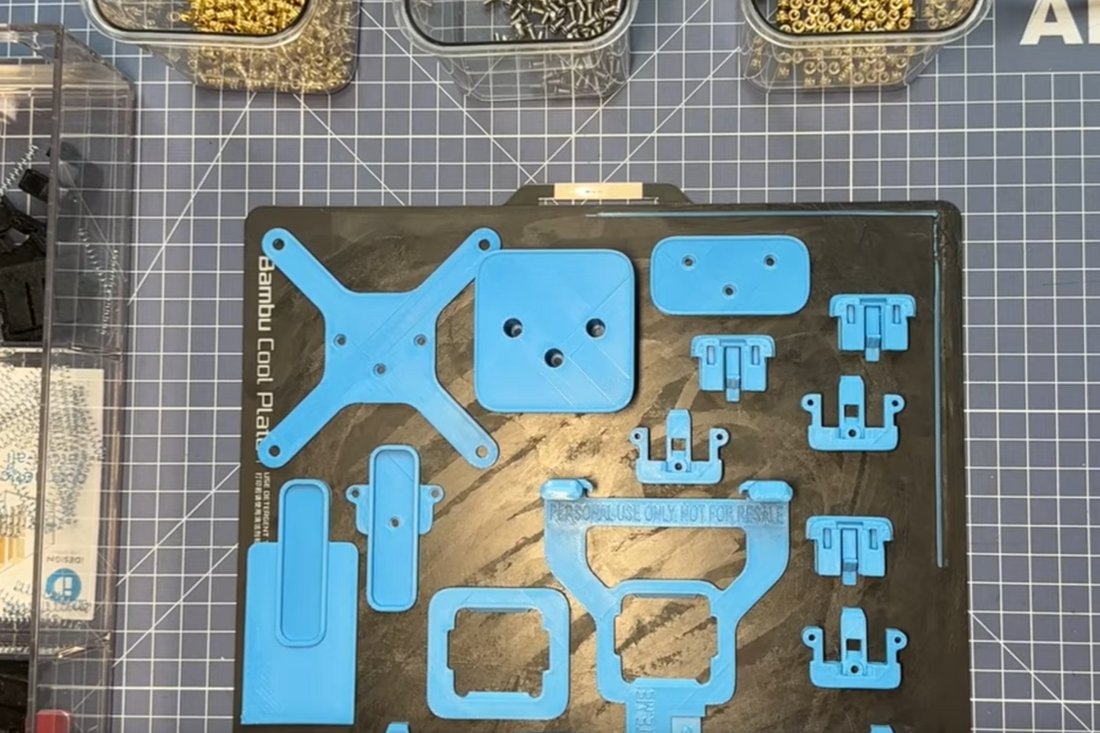
3D Printed
Pros:
- Cool colors and materials
- Infinite Customization - Modify to fit your needs
- Print any part at any time
- Can be cheaper with our DIY Kit if you already have the parts and materials
Cons:
- Expensive if you are making a single set and buying individual parts
- Cosmetically inferior
- Need to dial in print settings
- No custom cut adhesive
- No screw wings for wall mount
- Weaker system overall
Cost
Let's talk about pricing for a second. You'll notice a couple of those pros and cons listed cost as an area of concern for the printed parts. What gives?
The truth is that it's hard to buy onesie/twosies of these parts. If you were to buy all the parts on the list below the cost would come out to $42.82 in parts alone at the time of this writing, not including printing costs.
If you were to print this just for yourself, that might not make sense. However, if you were to print multiple sets for you and your friends, the additional cost is negligible since most of these items come in higher quantities than what you need.
Alternatively, we just released a DIY Kit that includes all the hardware you need to assemble your full system and custom cut adhesives for just $19
Detailed Design Comparison
Strength - Injection molded parts create solid and consistent parts for a strong, long lasting product. While 3D printed parts work really well, depending on your printer and filament, your print quality will vary greatly
Reliability - 3D printing is a great tool for iterating on designs and testing out concepts quickly, but the reality is that most home 3D printers have too much variability to create a constantly reliable product. Your Steam Deck is expensive...
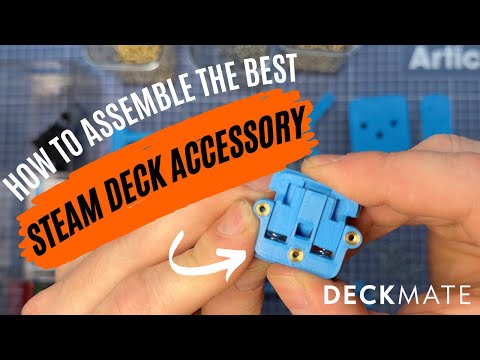
Difficulty - While we love a project we know that not everyone is up for it. Assembling your own 3D printed parts can come with a bit of trial and error. Additionally some of the hardware needed for this build requires additional tools and technical know how.
Design - while the core design of our system is consistent across our 3D printed and Molded parts (making them interchangeable and compatible) there are a few key design differences.
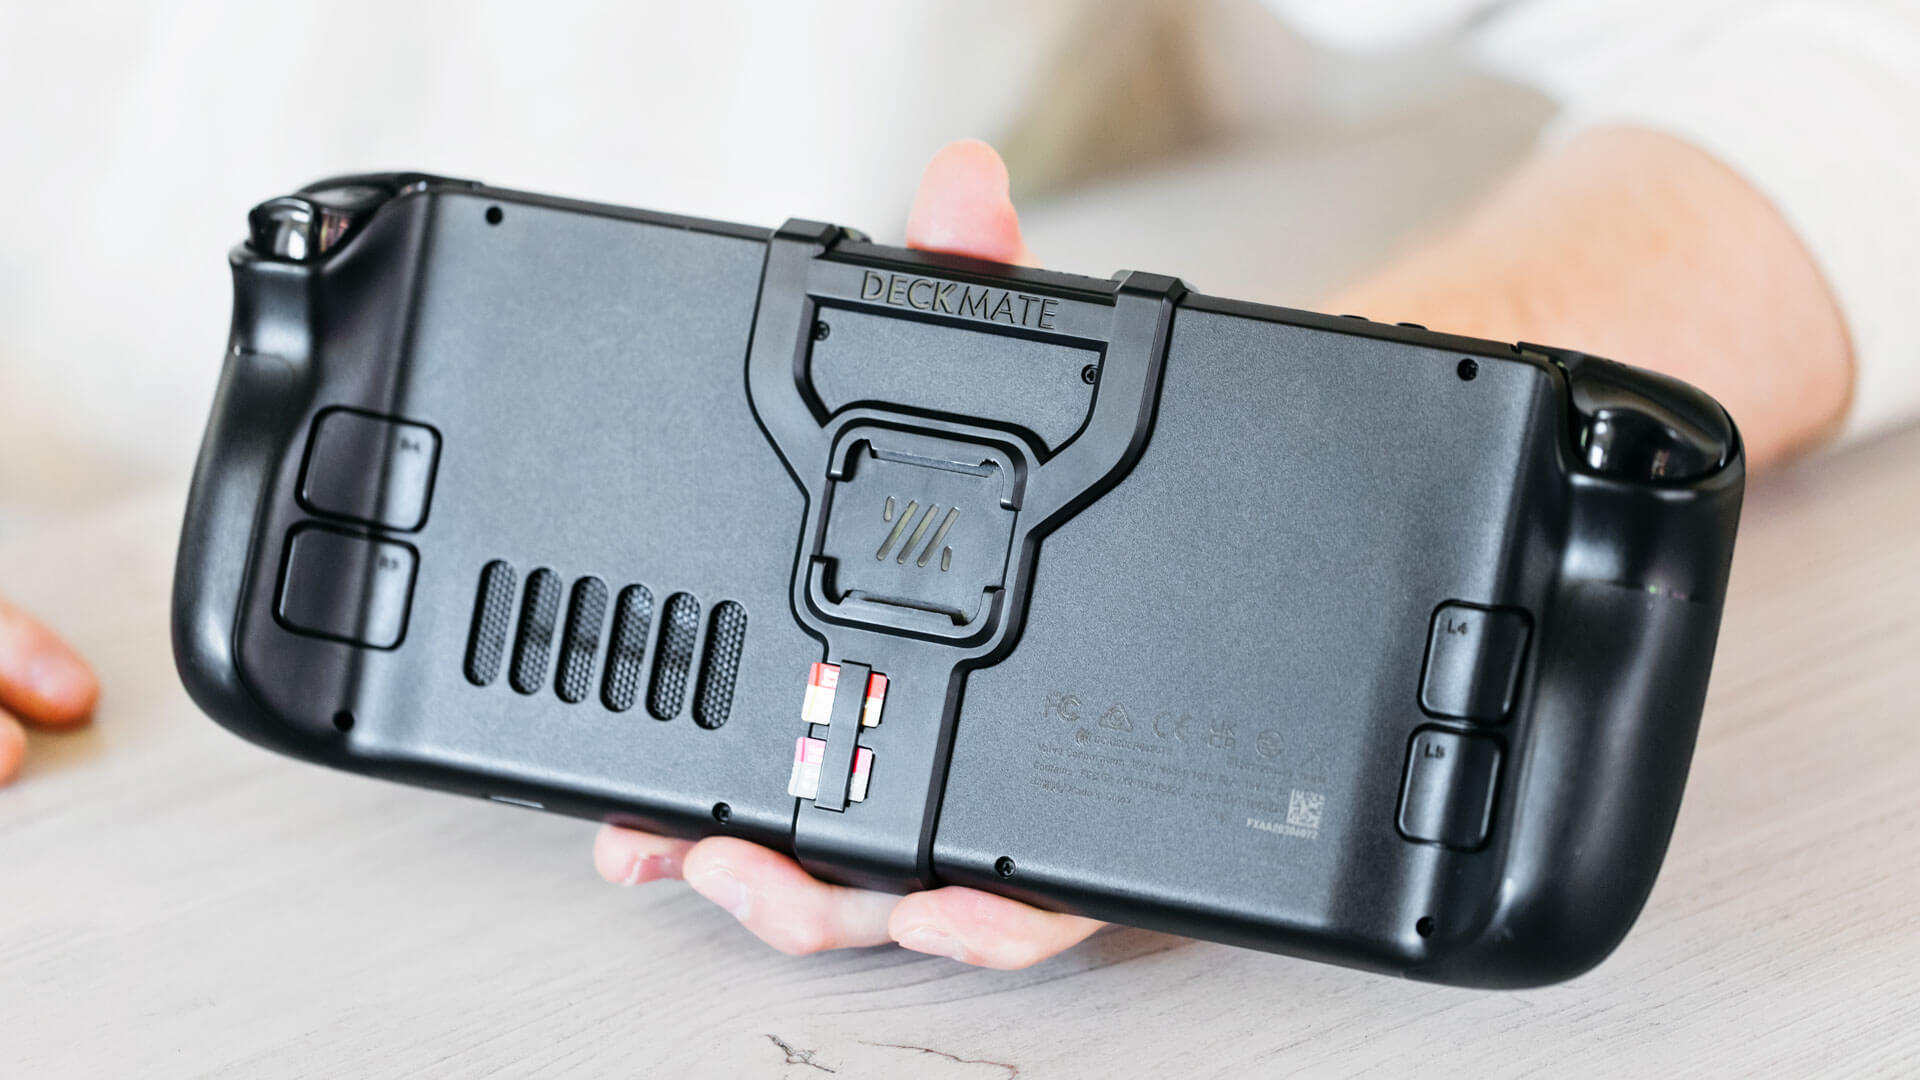
The Deckmate grip features a more streamlined and symmetric design, with SD card holders that actually work. The Wall Mount has the same adhesive, but the molded version has added wings that allow for mounting with screws. The Kickstand received the biggest design overhaul to a stronger and sleeker design, with more angle adjustability and smoothness.
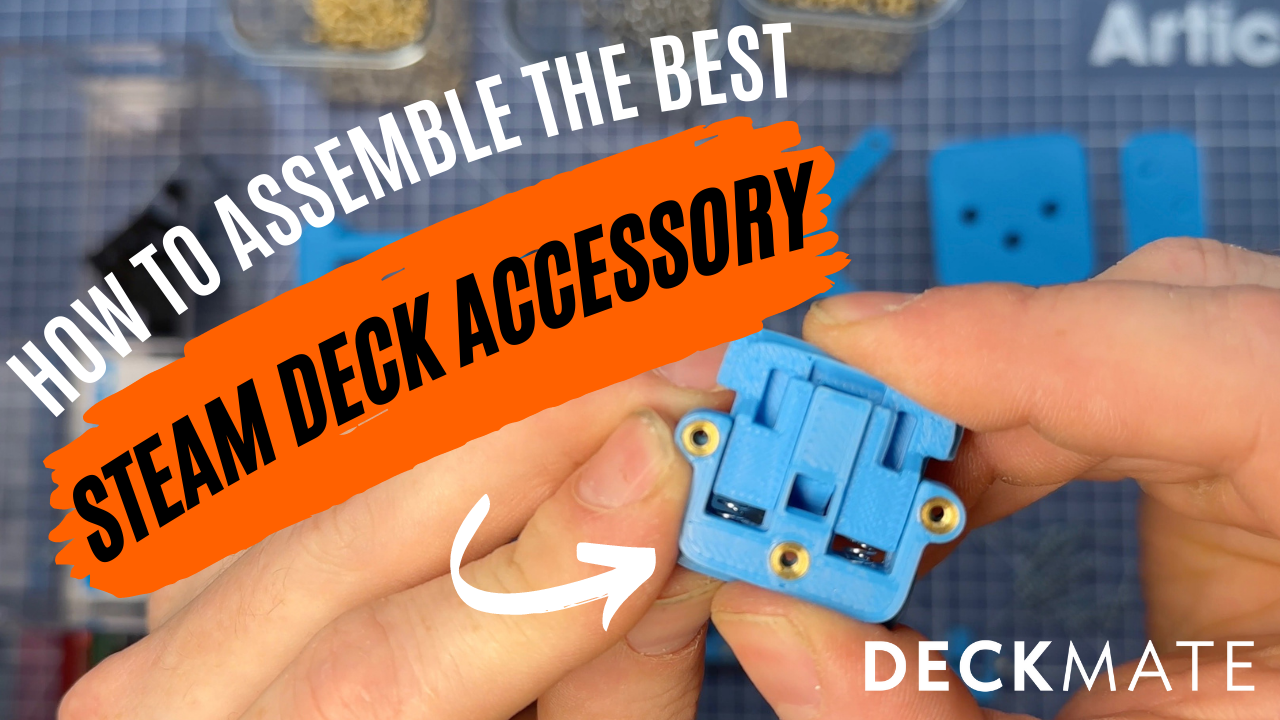
Make and assemble 3D printed parts
How to Print
All files are correctly oriented for you to print without support, except the Allymate Grip, which does require support.
The print settings that I used:
- Material: PLA
- Layer height: 0.20mm
- Infill: 15%
- Nozzle Temp: 215 degrees
- Bed Temp: 60 degrees
NOTE: If you are having any trouble, feel free to join our Discord channel here to get some help!
License
This work is licensed under a Creative Commons Attribution-NonCommercial 4.0 International License.

